An auto-outline Lua script for Aseprite
Read MoreAseprite Auto-Outline Script
An auto-outline Lua script for Aseprite
Read MoreTo learn the Godot engine, I’ve started remaking one of my old games in it, Gunlimb.
It was a game I’d made within just a couple weeks back in 2007, back when I was regularly using, and totally fluent in, the Game Maker engine. It was made for a Tigsource B-Game competition, so it was not exactly made elegantly.

The original Gunlimb, made in 2007.
The original Gunlimb didn’t use any physics library as it was using an early version of Game Maker. It projected points (or lines) for each gun and detected the ground, and would push the player vertically until no gun overlapped with the ground. If you aim quickly and overlap a gun with the ground, a larger vertical force would kick in to allow the player to ‘jump’. If the player was shooting, the added force from the recoil would propel them to a higher ‘jump’.
It was very simple. I don’t think it was exactly what I wanted, but it worked well enough for the game I was making and the time frame I had.
If I go back further and think about my inspirations at the time, one of the big ones was a game called ‘Sexy Hiking’ made by a prolific Game Maker game developer called Jazzuo.
In Sexy Hiking (which also inspired creator Bennet Foddy to later create Getting Over It), the player controls the character’s arms with the mouse to use the hammer as a lever to pivot their body, and sometimes launch it with force into the air.
The way this works is that the collision for the hammer is a disconnected circle projected apart from the player. This allows the player to reach around a limb of the tree, for example.
Either the hammer is ‘grounded’ on a solid surface, in which case mouse movement moves the character’s body, or the hammer is not grounded and the mouse movement controls the hammer’s location in space relative to the body.
‘Sexy Hiking’ gif
For Gunlimb, I didn’t do that. My implementation was MUCH simpler. However, it’s been nearly 20 years, and I can get the movement how I wanted it to move instead of, due to personal skill level and the competition’s time limit, I was unable to get it before.
The main thing I really wanted to achieve this time is to allow the player to use their guns as a ‘pivot’, like in Sexy Hiking. Here’s a mockup example of what I mean.

Unlike in Sexy Hiking, however, I want the collision to run down the length of the gun, rather than just the tip. It’s not a climbing game, after all!
So, I need to check the length of the gun for the first collision point, use that as a pivot.
I also need to check for cases where the gun is embedded in a wall, and push the player in the opposite direction of that.
I made a guide for myself to brainstorm possible collision situations and how I wanted to deal with them.
I started implementing this, and got a pretty good prototype of the movement going.
One thing that interested me about this approach is that I was able to get a sort of facsimile of the Sexy Hiking climbing mechanic working. I started getting ideas about levels where Gunlimb is out of ammunition, or has other reason he has to navigate without shooting.
I was fairly happy with the results so far. However, when you’re in the prototype phase, it’s a good idea to try more than just one approach before committing to it! So I thought, I’m not in 2007 any more, what if I used a physics engine?
There are many reasons I avoid using physics engines when physics isn’t the main conceit of the game. I find it can be frustrating to iron out edge cases when a physics engine goes wonky and it’s such a complex library to dig into. It can take a lot of iteration and sometimes there’s no good way to solve some of the unpredictable scenarios that can arise. I think of all the times I’ve seen physics implementations glitch out even in highly polished triple-A games. I especially avoid it when it comes to mission-critical game elements. It’s one thing if a dead enemy ragdoll glitches out, clips into the wall and loudly spasms and flails and makes a squelching noise for ten minutes until it flies into space - it’s another thing if a physics based crate you need to drag onto a button to get to the next level clips through the floor and disappears.
However!
If there’s a single game where physics jank could be welcomed with open arms, it’d be Gunlimb. The original game welcomed jank and glitches - there was an enemy called the ‘Glitchdog’ that teleported, flipped, stretched and scaled randomly across the level at the player.
So, knowing my progress so far was saved in the repository, I scrapped it all and started again.
I removed my line raycast colliders, changed the torso and guns to derive from RigidBody2D and pinned the guns to the torso using PinJoint2D nodes. I got them to rotate towards the mouse with physics forces rather than rotating them directly.
Okay, that wasn’t quite what I had in mind.
Maybe it’ll be fun if the torso rotates if Gunlimb gets knocked out or something, but for the most part he should remain upright.
That’s better.
To achieve this technically, I set the torso to Lock Rotation, and increased its Mass to 240kg.
The guns have a Mass of 15kg.
I also use the ‘Custom Integrator’ so that I can control rotation/translation in Godot directly through code, and set a Contact Monitor to 2 so that I can keep track of active collisions along each gun.
In the gun code, I use the _integrate_forces(state) function to directly set the state.angular_velocity to match the angle to the new aim angle.
To improve the feel of ‘jumping’, I also check the contacts in the gun and see if the angle is pushing the contacts further into the normal of the contacts, and if so, reduce the angular_velocity force to simulate that it requires a lot of force to rotate your gun into a wall as a lever, but it worked okay without this.
A lot of the time when I think back to the games I was making back in the 2000s, I think ‘how on earth did I pull that off with the limited knowledge that I had’. At the time, I was a teenager, and completely self-taught, making games in my weekends and evenings as a hobby. Now I’m sitting on 3 years of formal game development education and 15 years of industry experience, but somehow games seem to take much longer to make.
Like, when I started working on Gunlimb mechanics in Godot, it got quite complicated quite quickly, even though I’m sure I wouldn’t have been able to do back then what I can do now, let alone in such a limited timespan.
The trick was that back then, I took every shortcut I could! In Gunlimb, the collision code was literally just if a gun is overlapping a wall, raise Gunlimb’s vertical position until the gun is no longer overlapping a wall. This obviously limits the level design and doesn’t really ‘feel’ correct in a lot of cases, though I just designed around that.
Sometimes I miss being so scrappy in my 2000s technical approach to game dev. Everything was hacked together and then I’d just work around whatever I got stuck on. I definitely have a better eye for detail now, and I hold myself to much higher standards when it comes to code (an absolute necessity when working with others).
However, this time around, I want more verticality in the level design, and I want it to feel a bit more grounded and weighty. I think the physics approach is the right one, and could lead to some really fun mechanics. I don’t really miss the ‘climbing’ from the non-physics code-driven approach, I think the new approach is fun just bouncing around the level, which is a great start.
I may need to revisit the movement again once the guns start shooting and recoiling Gunlimb, but for now, this is a promising start!
Bonus: I very briefly started working on a sequel in 2008. It never got any further than this video. It looks like my approach to gun movement back then was basically the same as the original - it doesn’t have the Sexy Hiking pivot. I think I was too intimidated to even attempt it, haha.
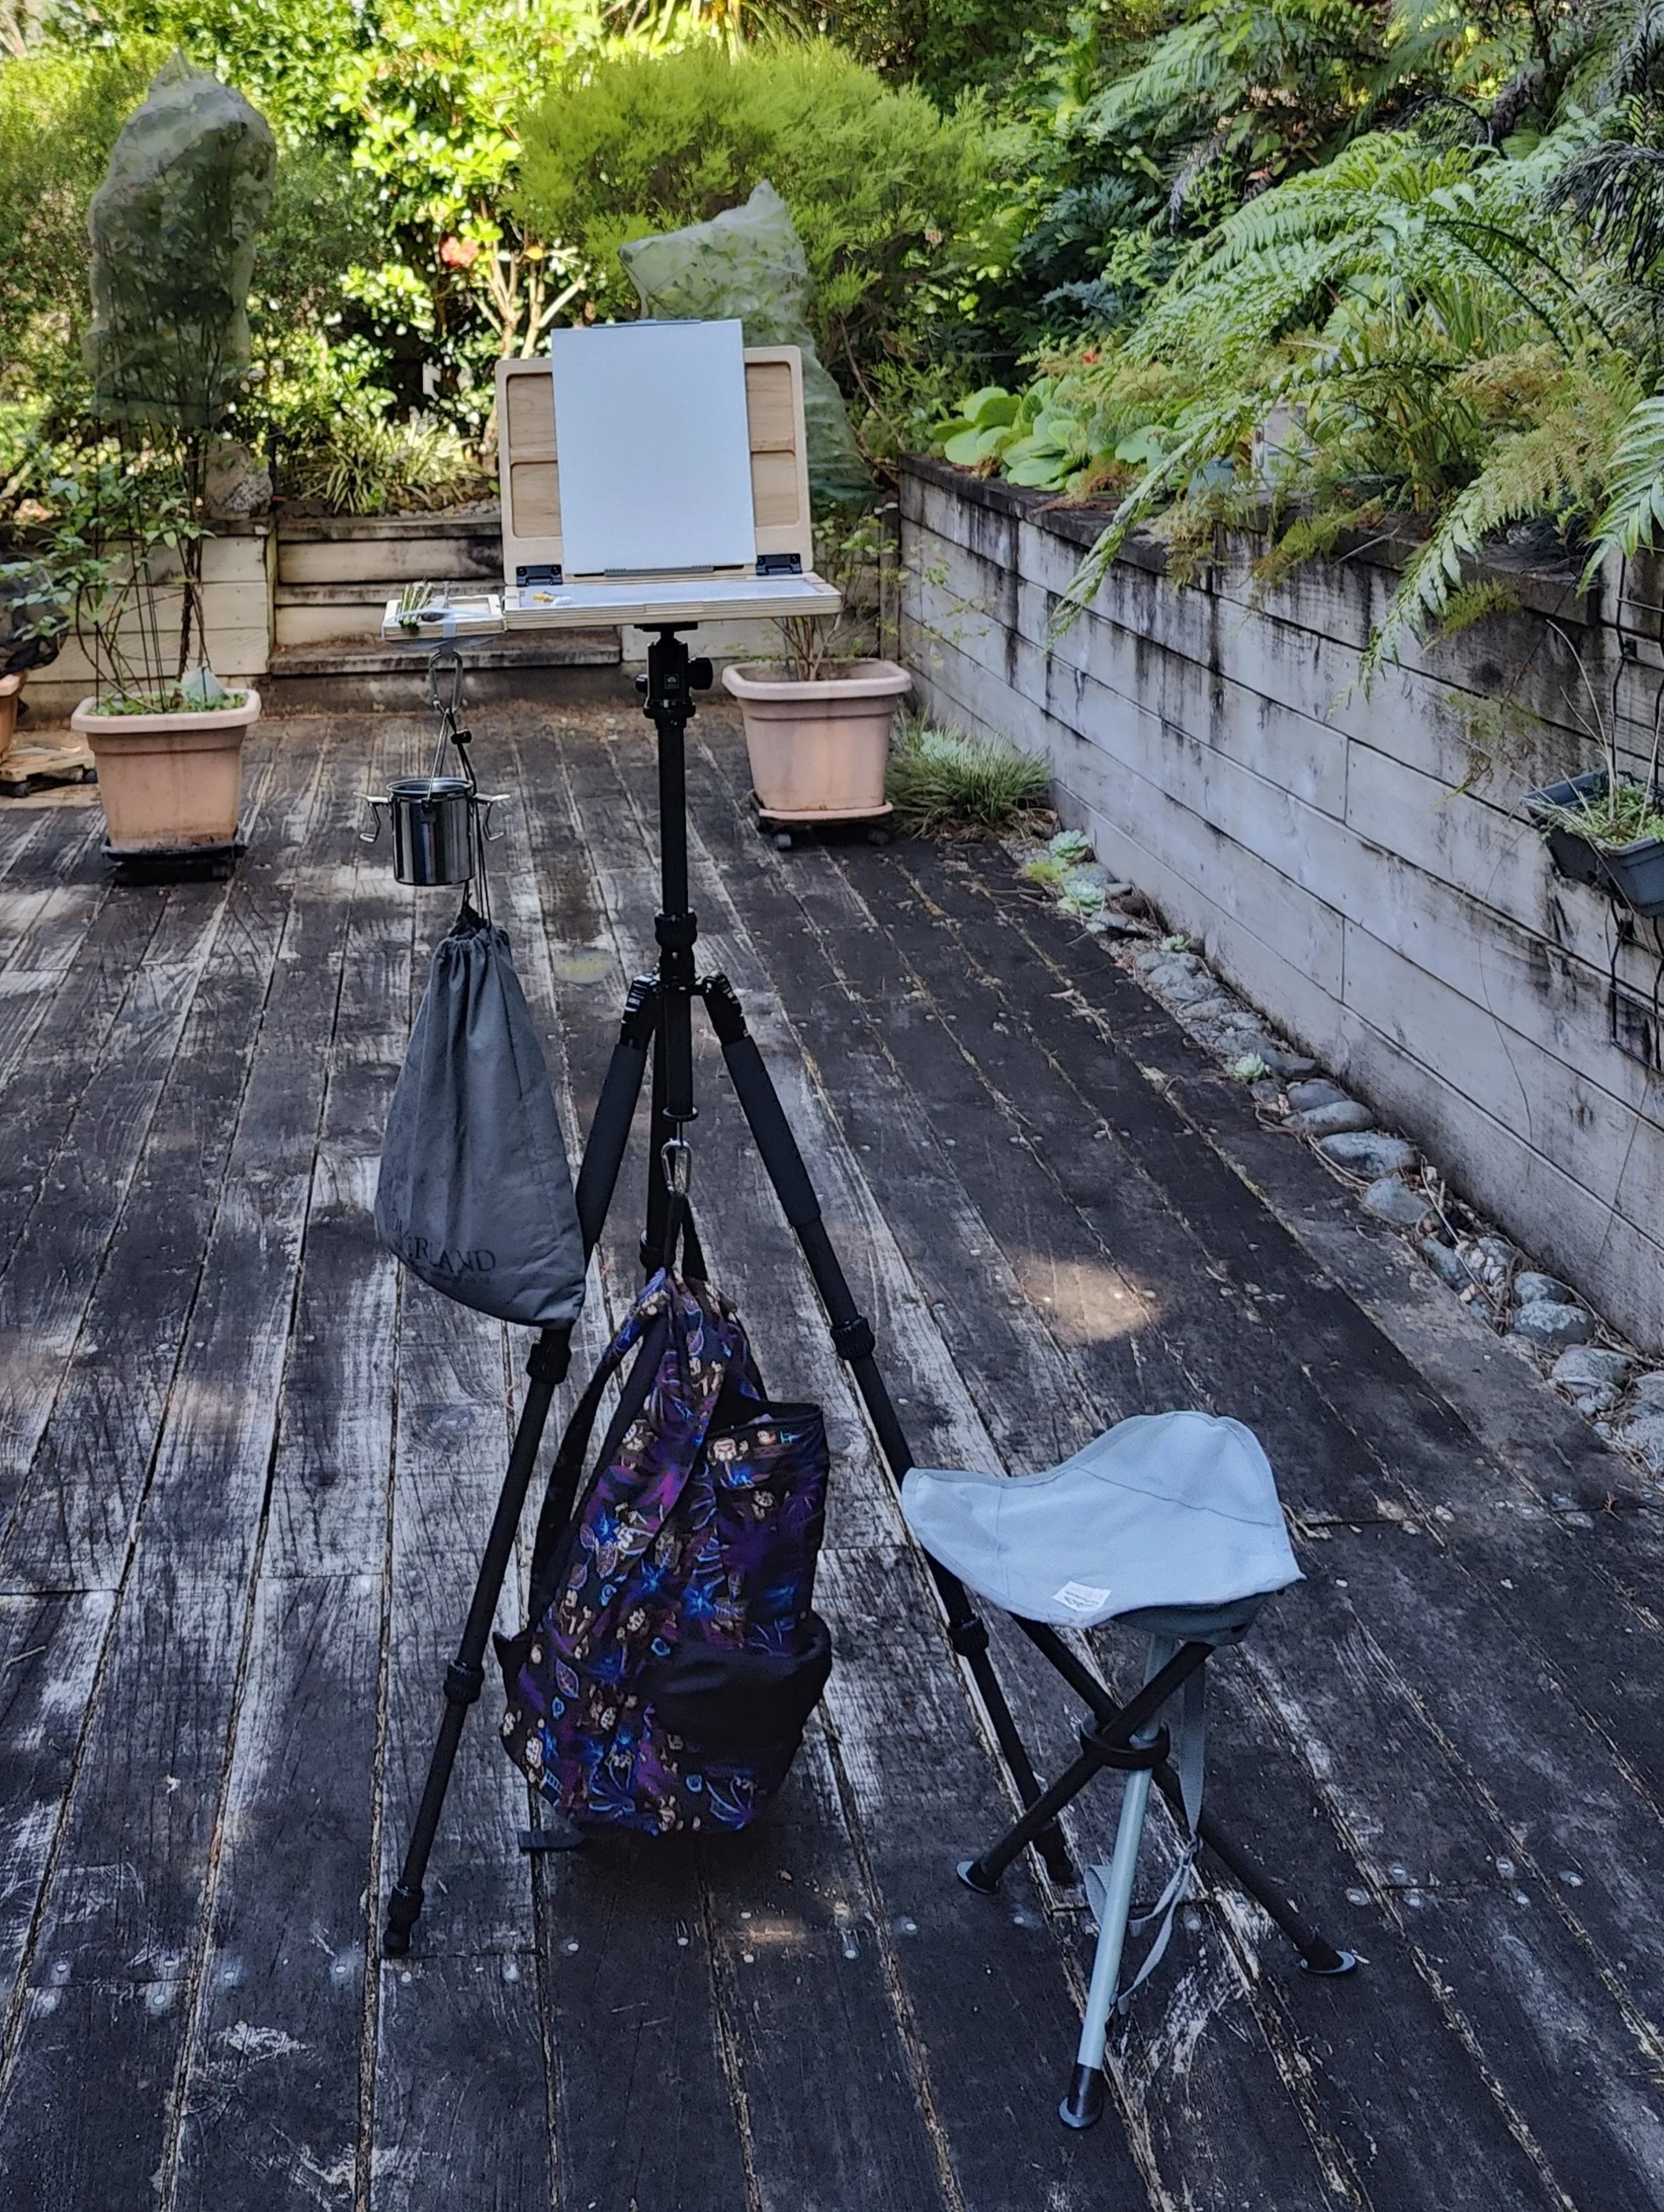
I’ve been wanting to try painting outdoors for years, but it’s very easy to make excuses about not having the right gear. Especially for oil painting, equipment can be a world of difference between having a good time and having a bad time.
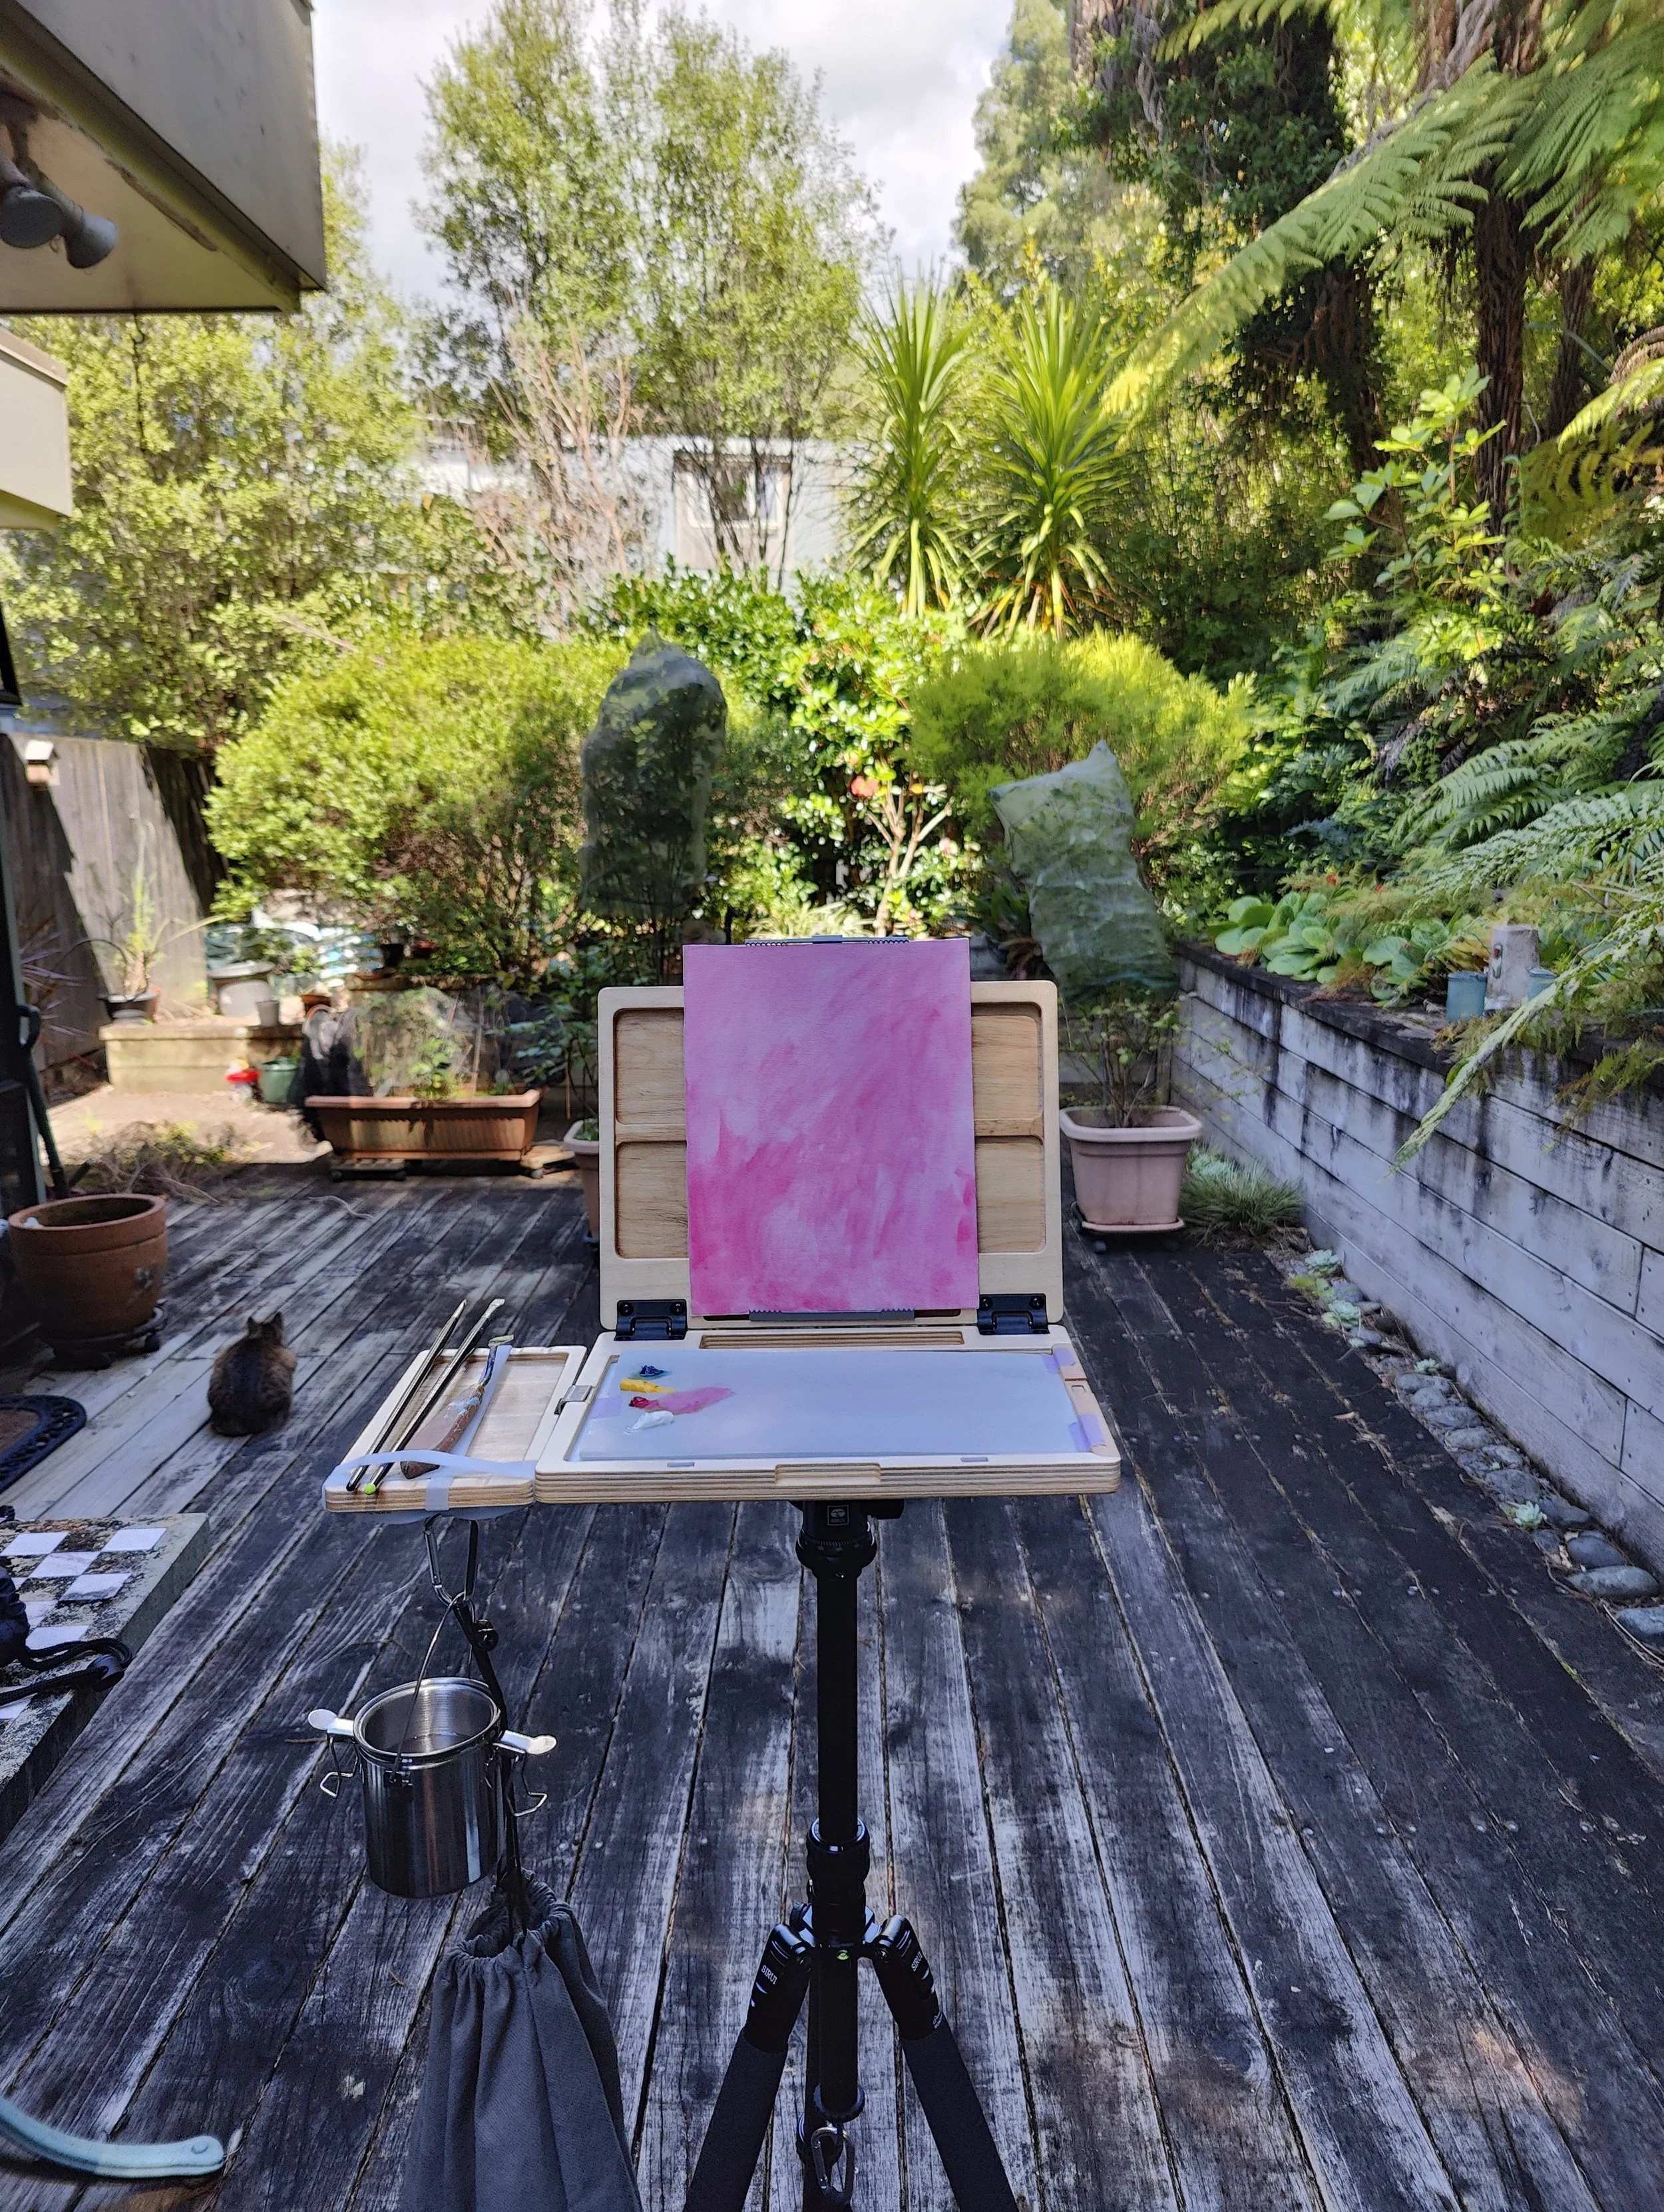
Well, I’ve finally put together a plein air painting kit, so I have one fewer excuse now.
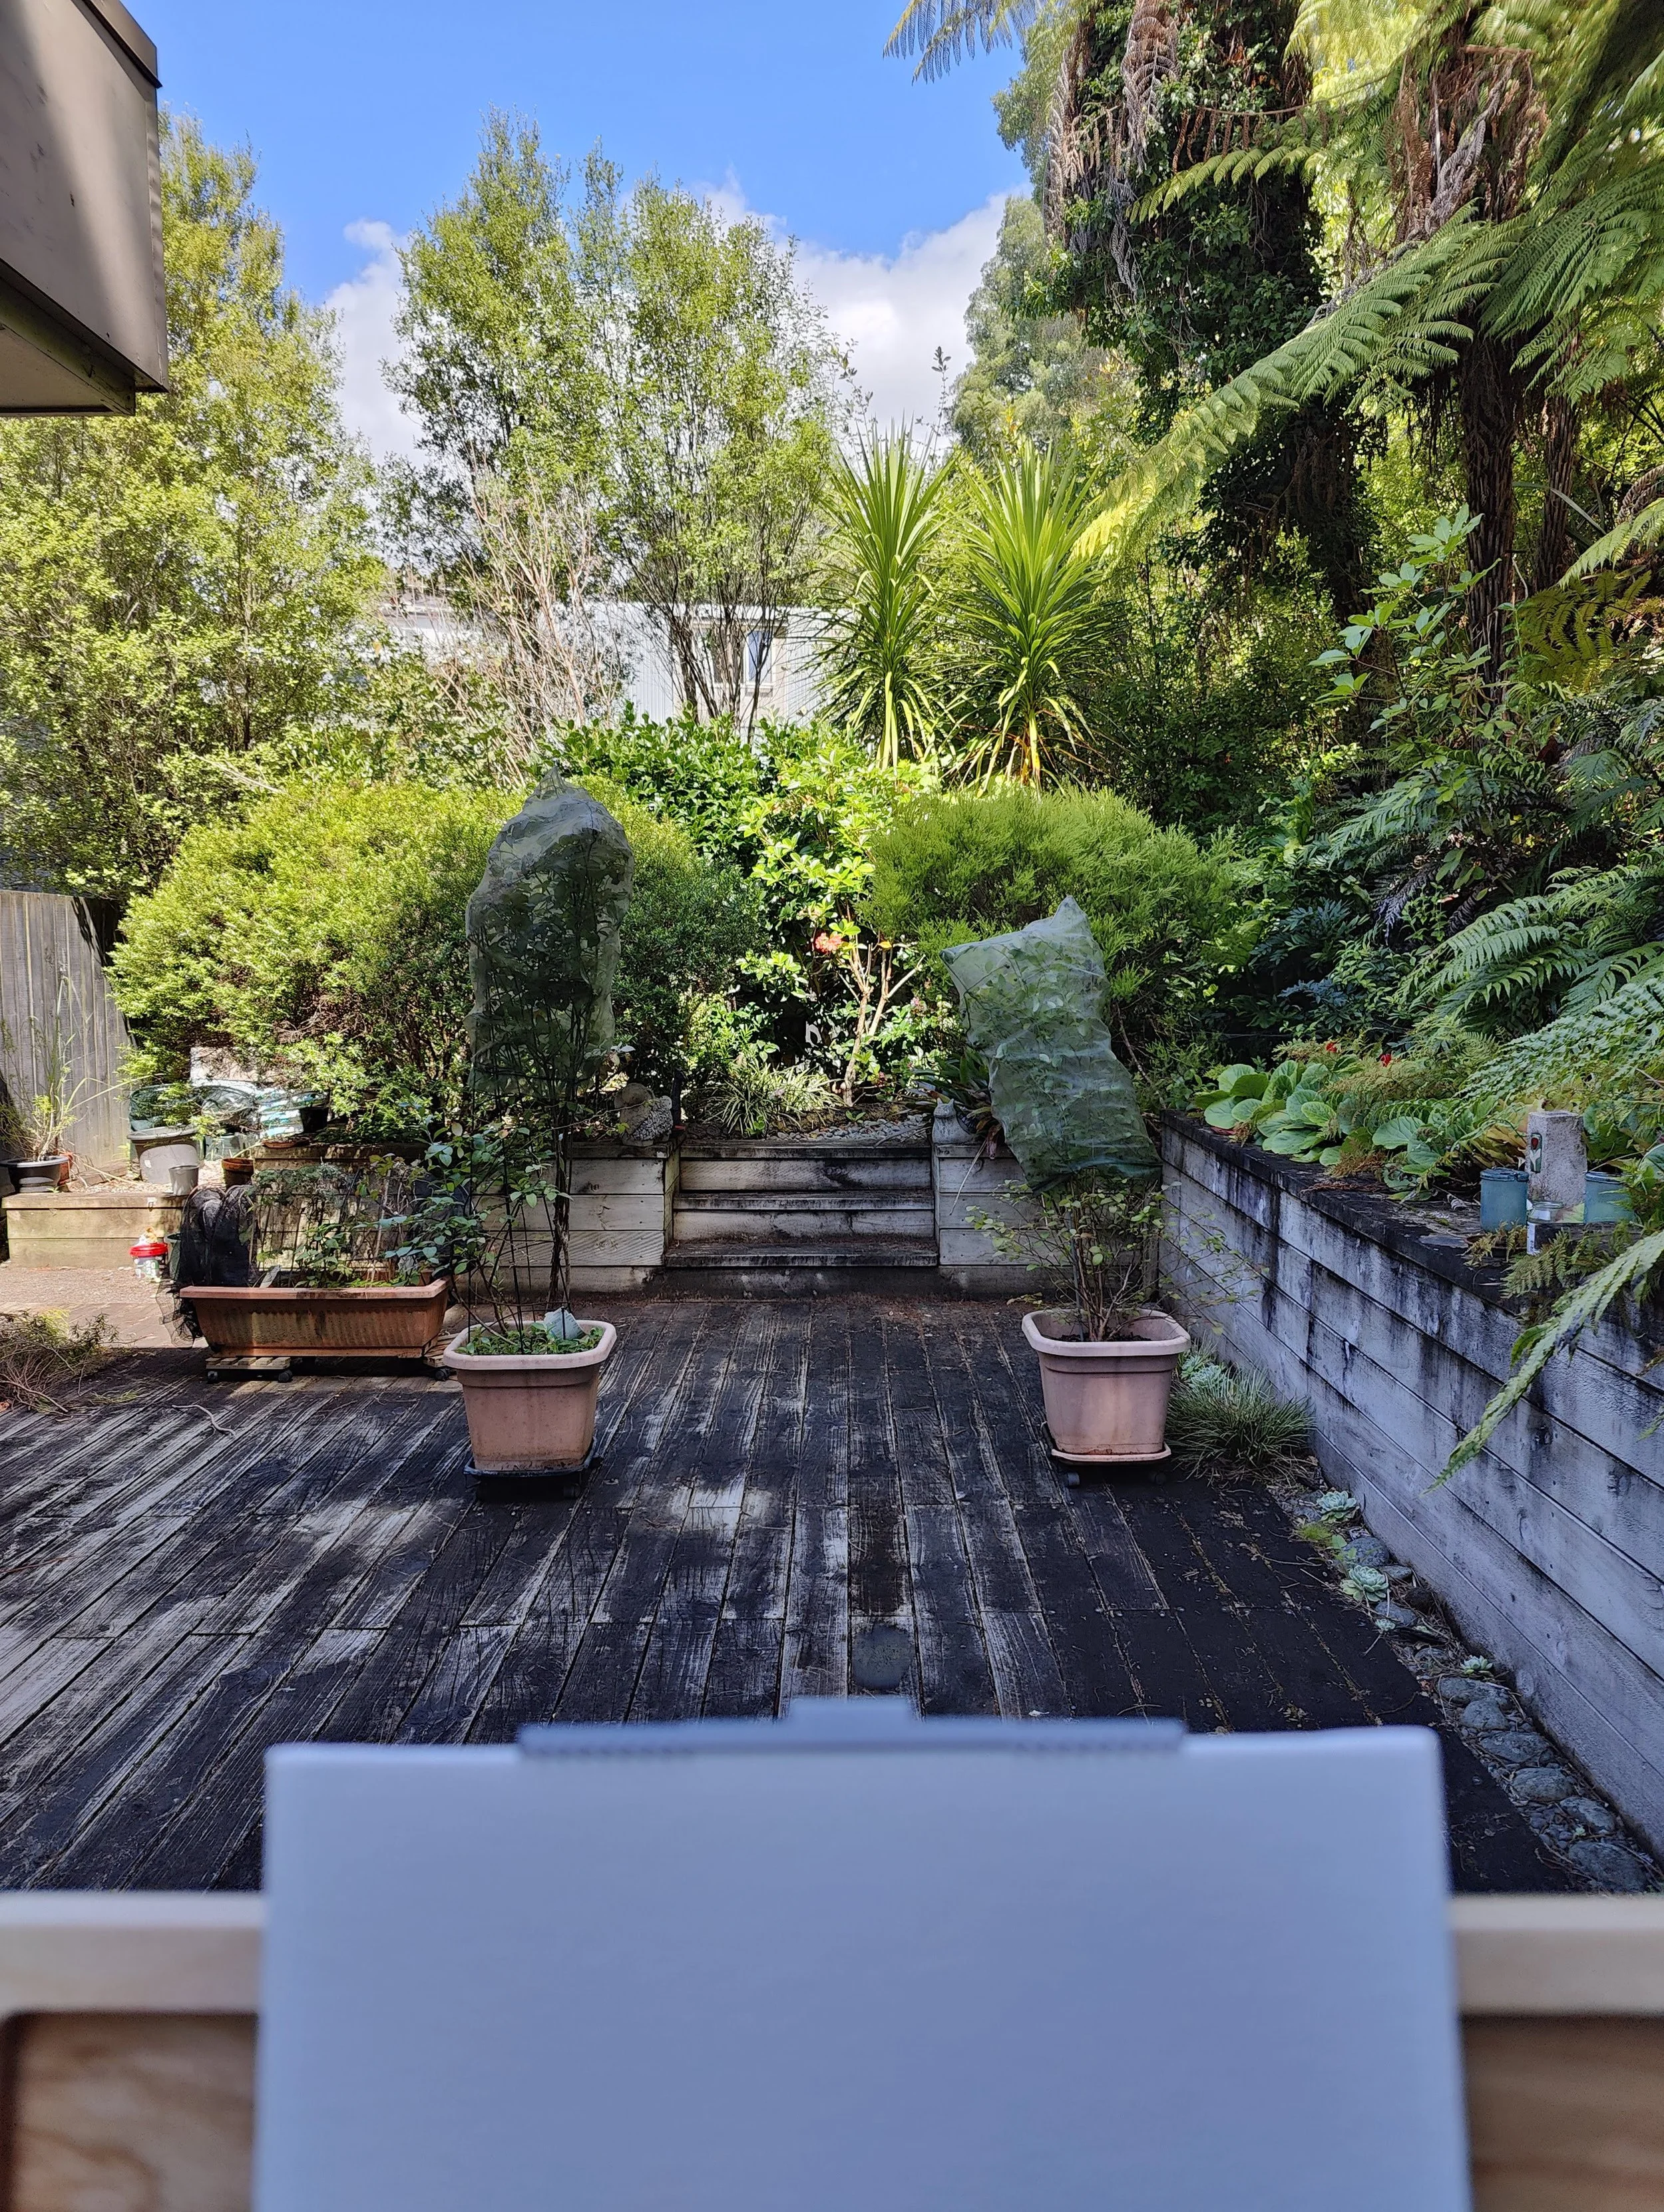
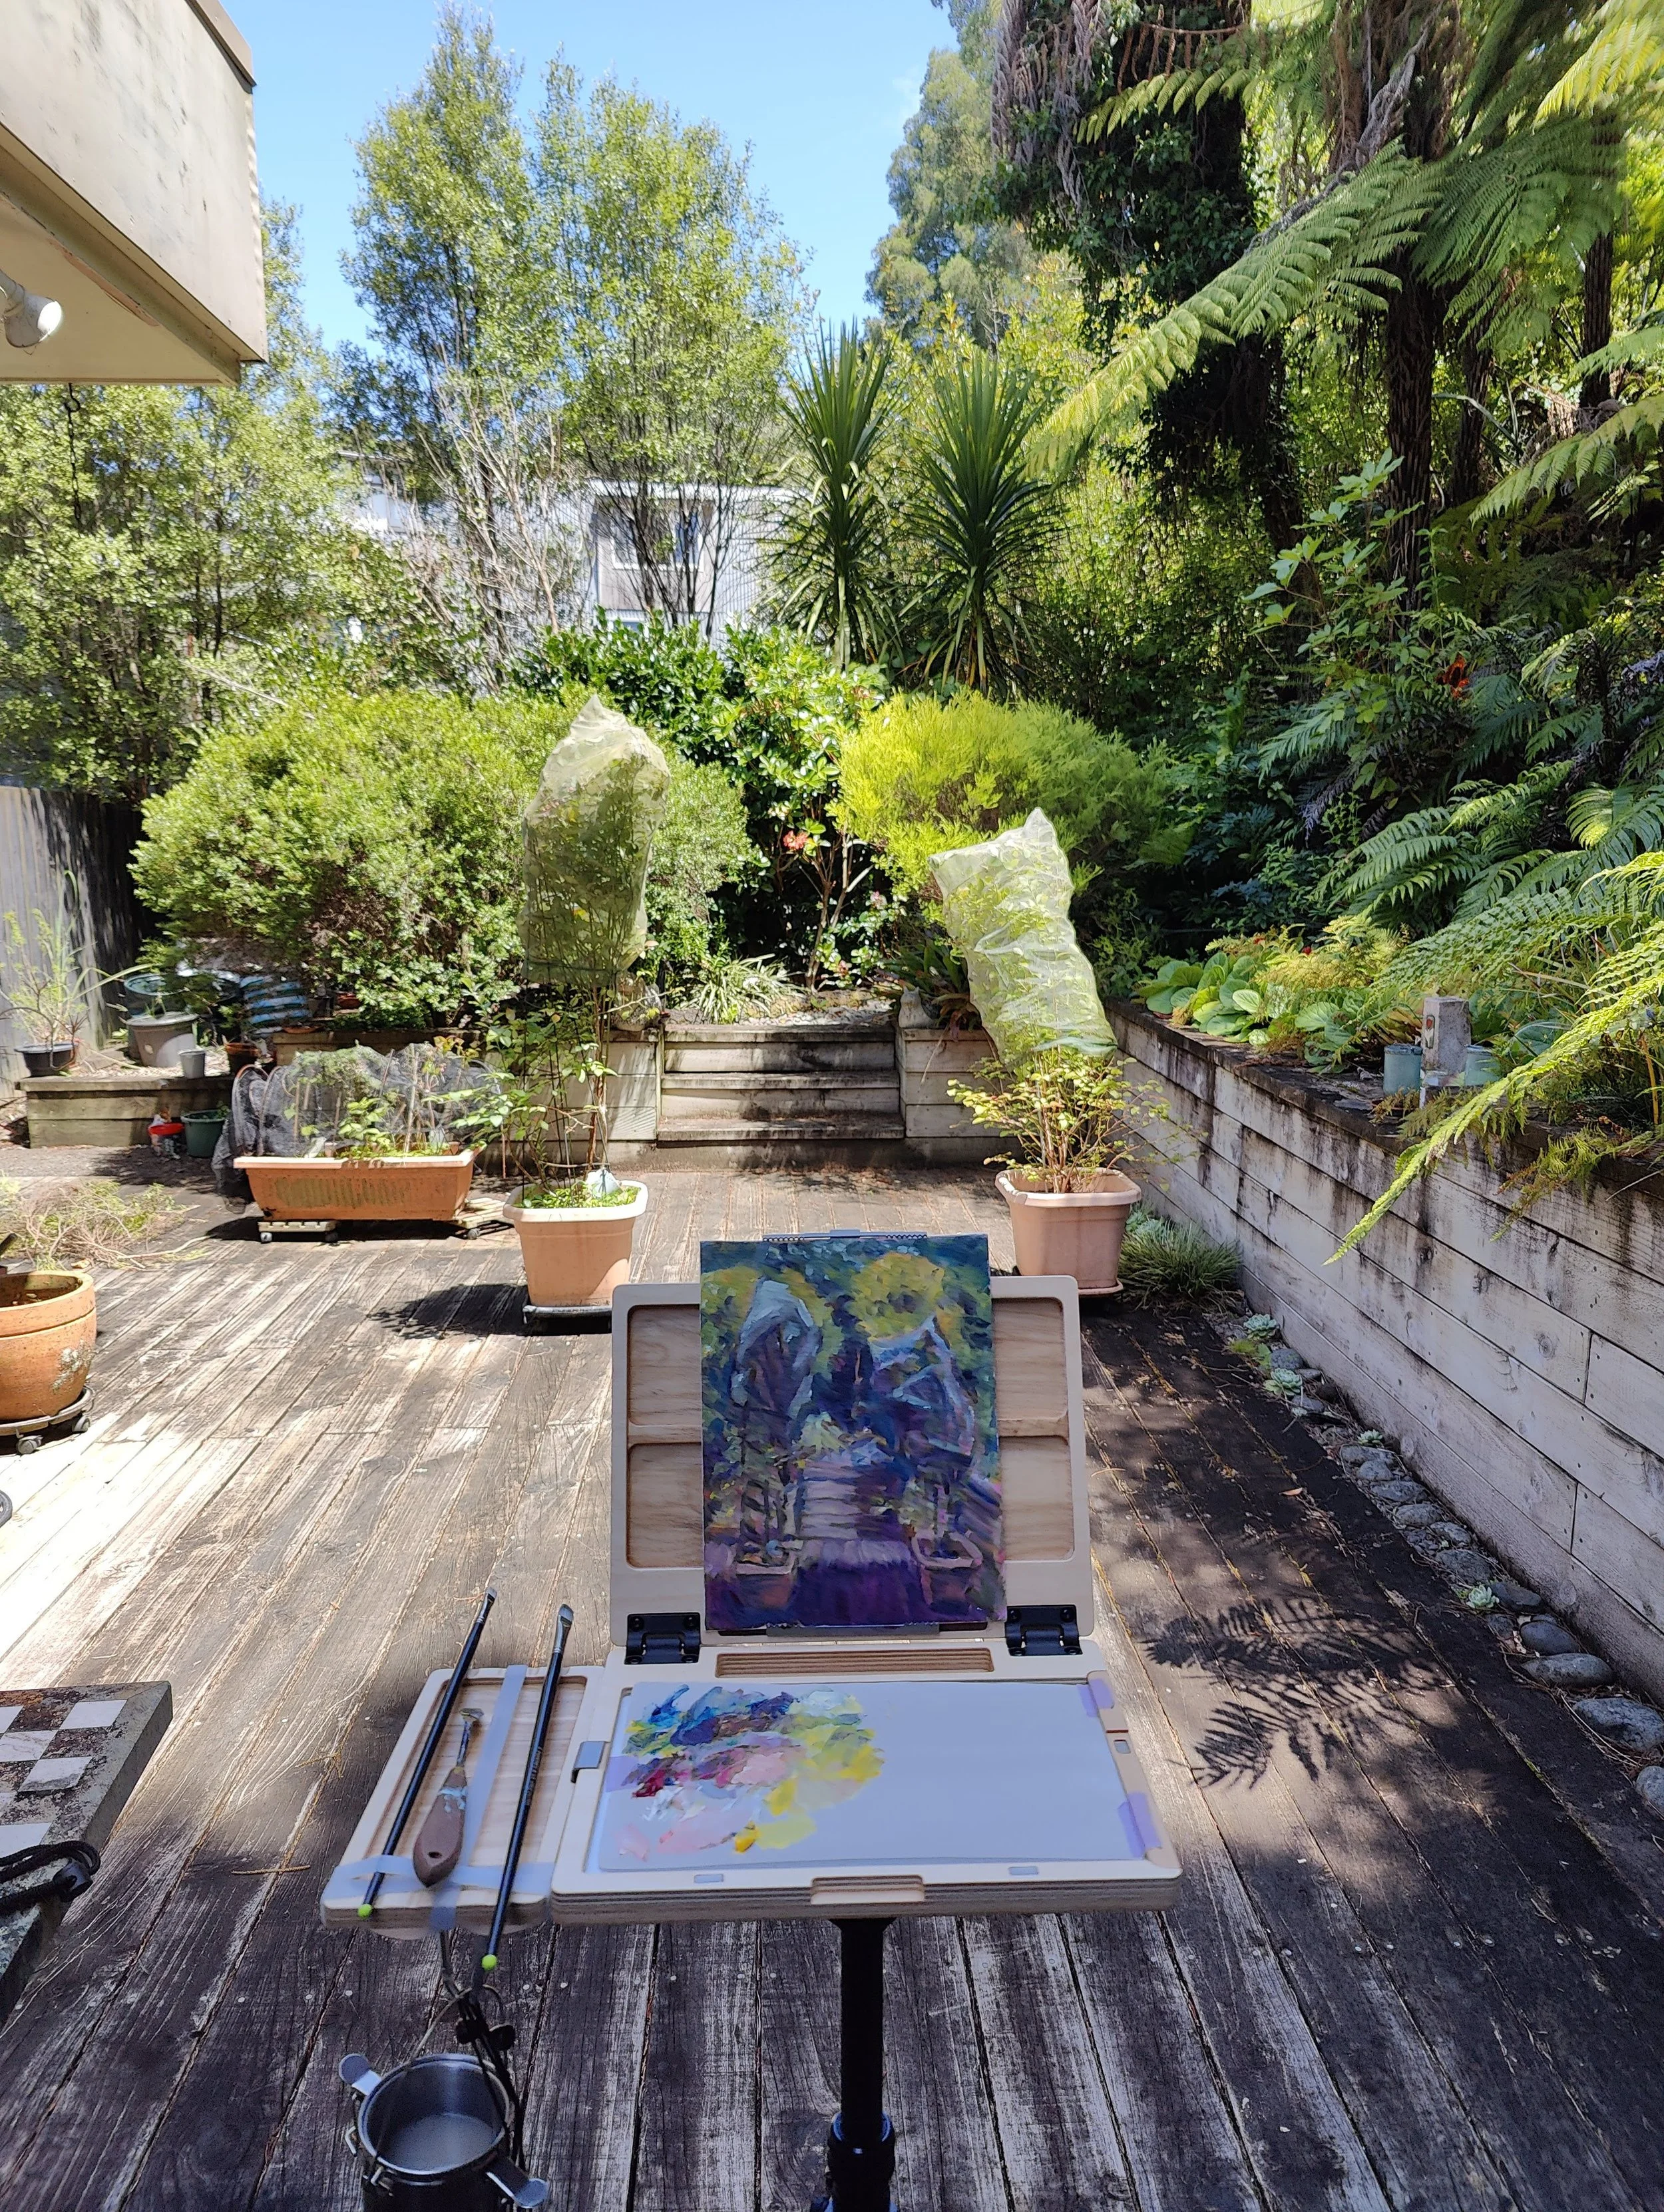
Before going off and painting away from home, I decided to put it through its paces in my backyard.
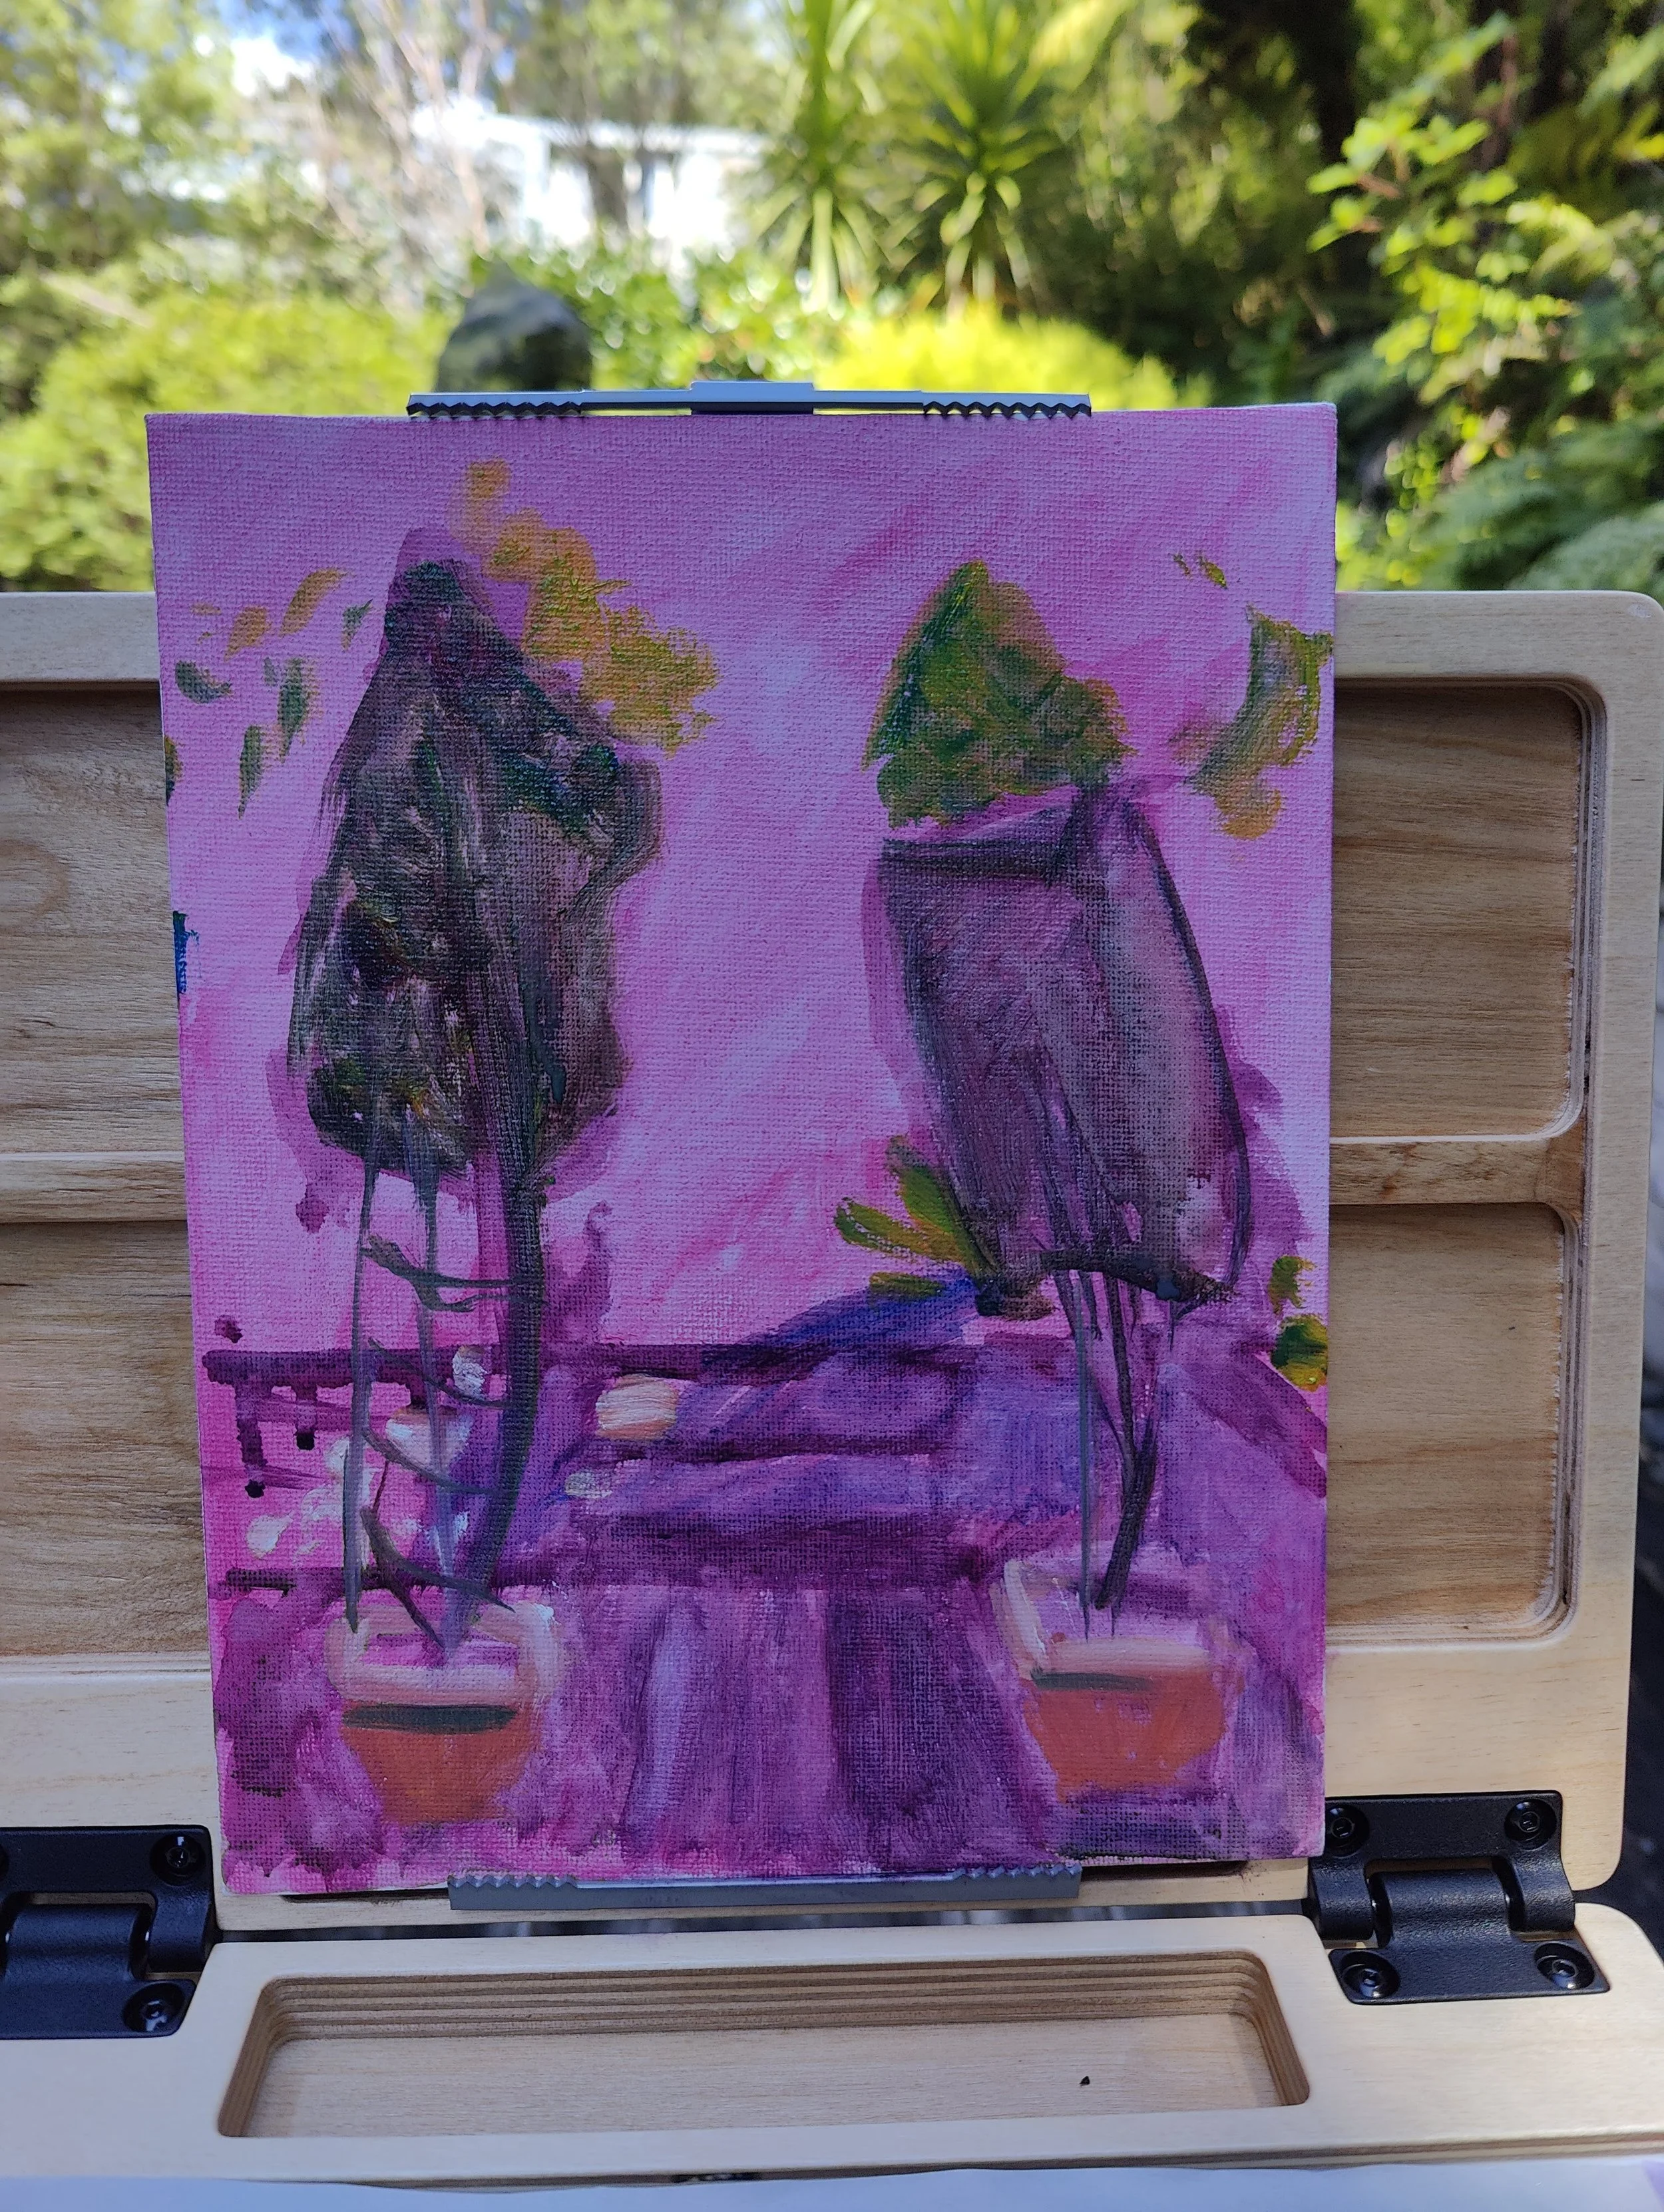
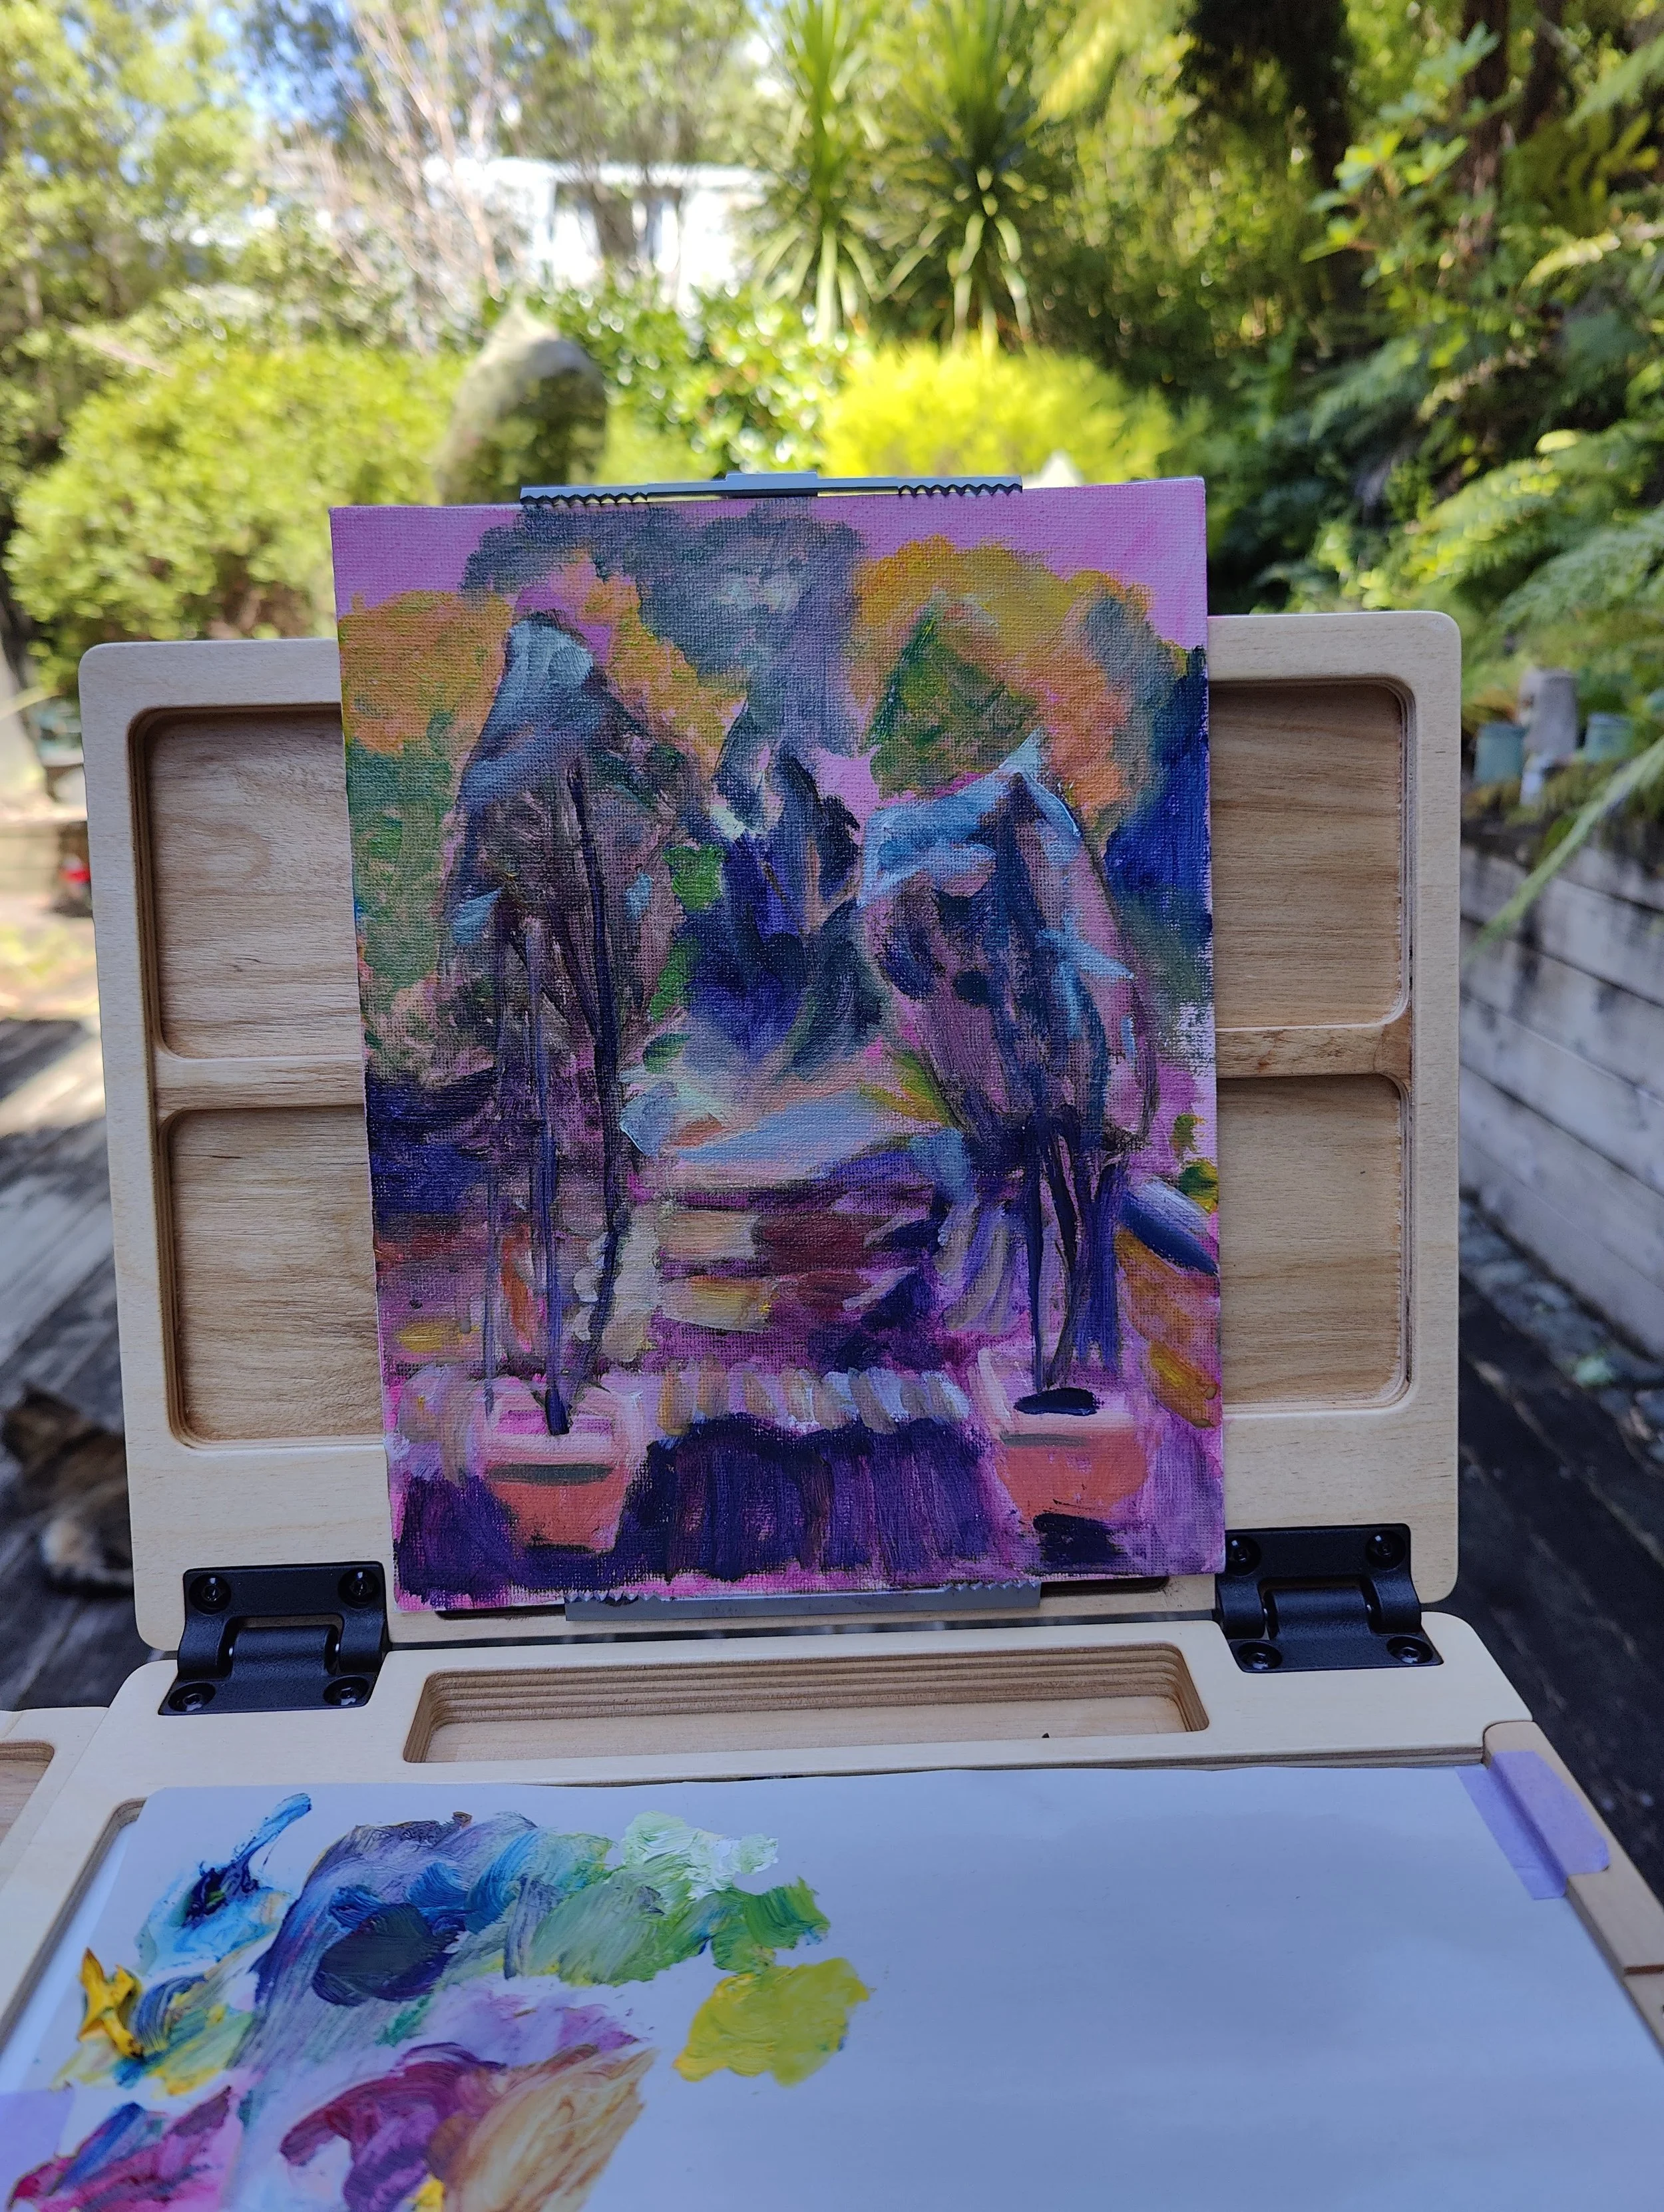

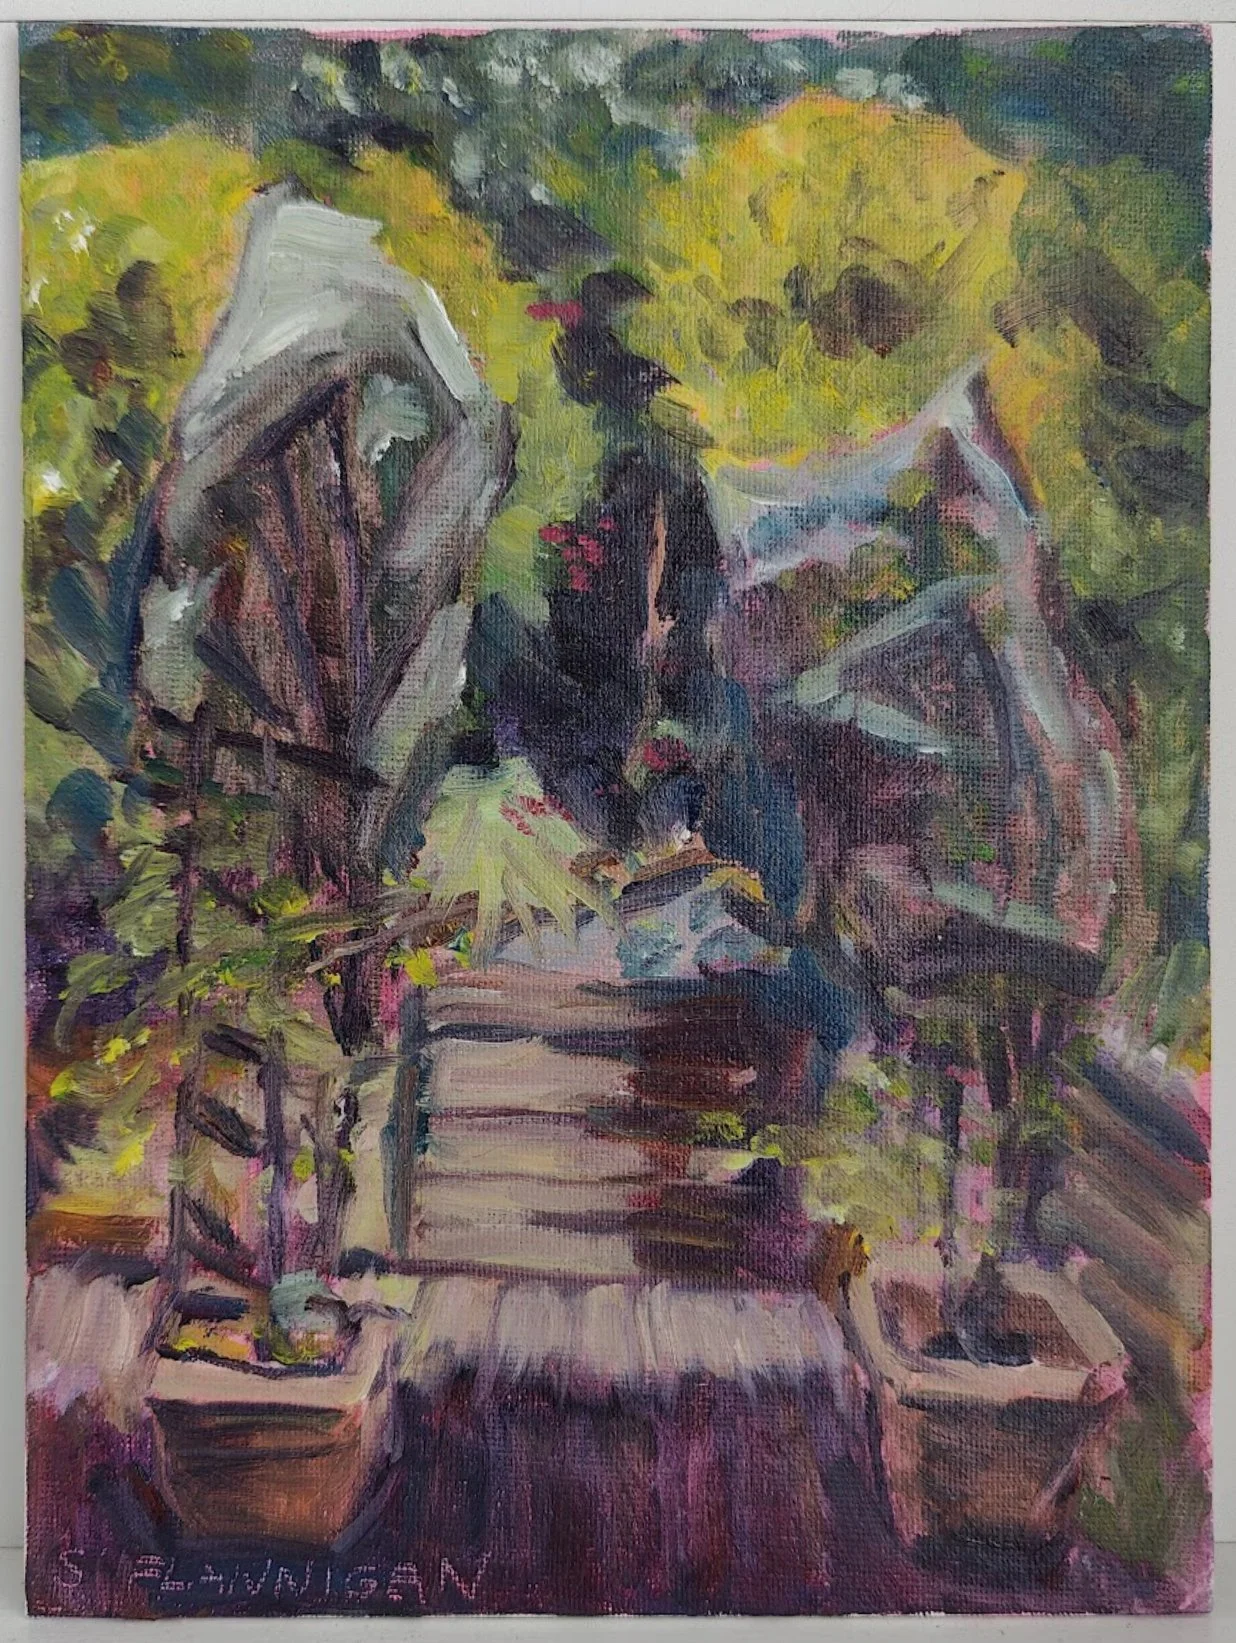
The final piece. Roughly 1h, 30 mins
It was a success in that I had fun and managed to paint something! There are a couple tweaks I want to make before heading out into the ‘real world’ with my kit.
Because I toned it on the spot, it meant the background colour slightly bled into all the paints I layered on top. If I was using regular oil paints with solvent it wouldn’t have been too bad because a thin layer of paint mixed with solvent dries pretty quickly, but I’m using water-mixable oils and it’s not quite the same.
I was being a bit ambitious with my lack of colours, hoping to lighten my load and do more mixing on the palette. In some ways it kind of gave my painting a surreal look, so I’m not upset with the results, but if I want to try and capture real-world colours in rapidly changing light conditions, then I’ll need to give myself any advantage I can and have a wider range of colours on my palette to begin with.
I only really used the one brush, a filbert. I went back and forth between colours on a whim, which meant that they kept getting muddier. At my usual home setup, I use plenty of fresh water for cleaning brushes and have multiple vessels of water so that I can do an initial rinse, a wipe, and then a second rinse in a second cleaner jug of water. Because I’m only bringing a small metal vessel of water, I don’t really have the luxury of deep-cleaning my brushes, so I should bring more brushes and at the very least, keep one brush for light and one for dark colours.
I also forgot to include a palette knife, so I had to run back inside and grab one.
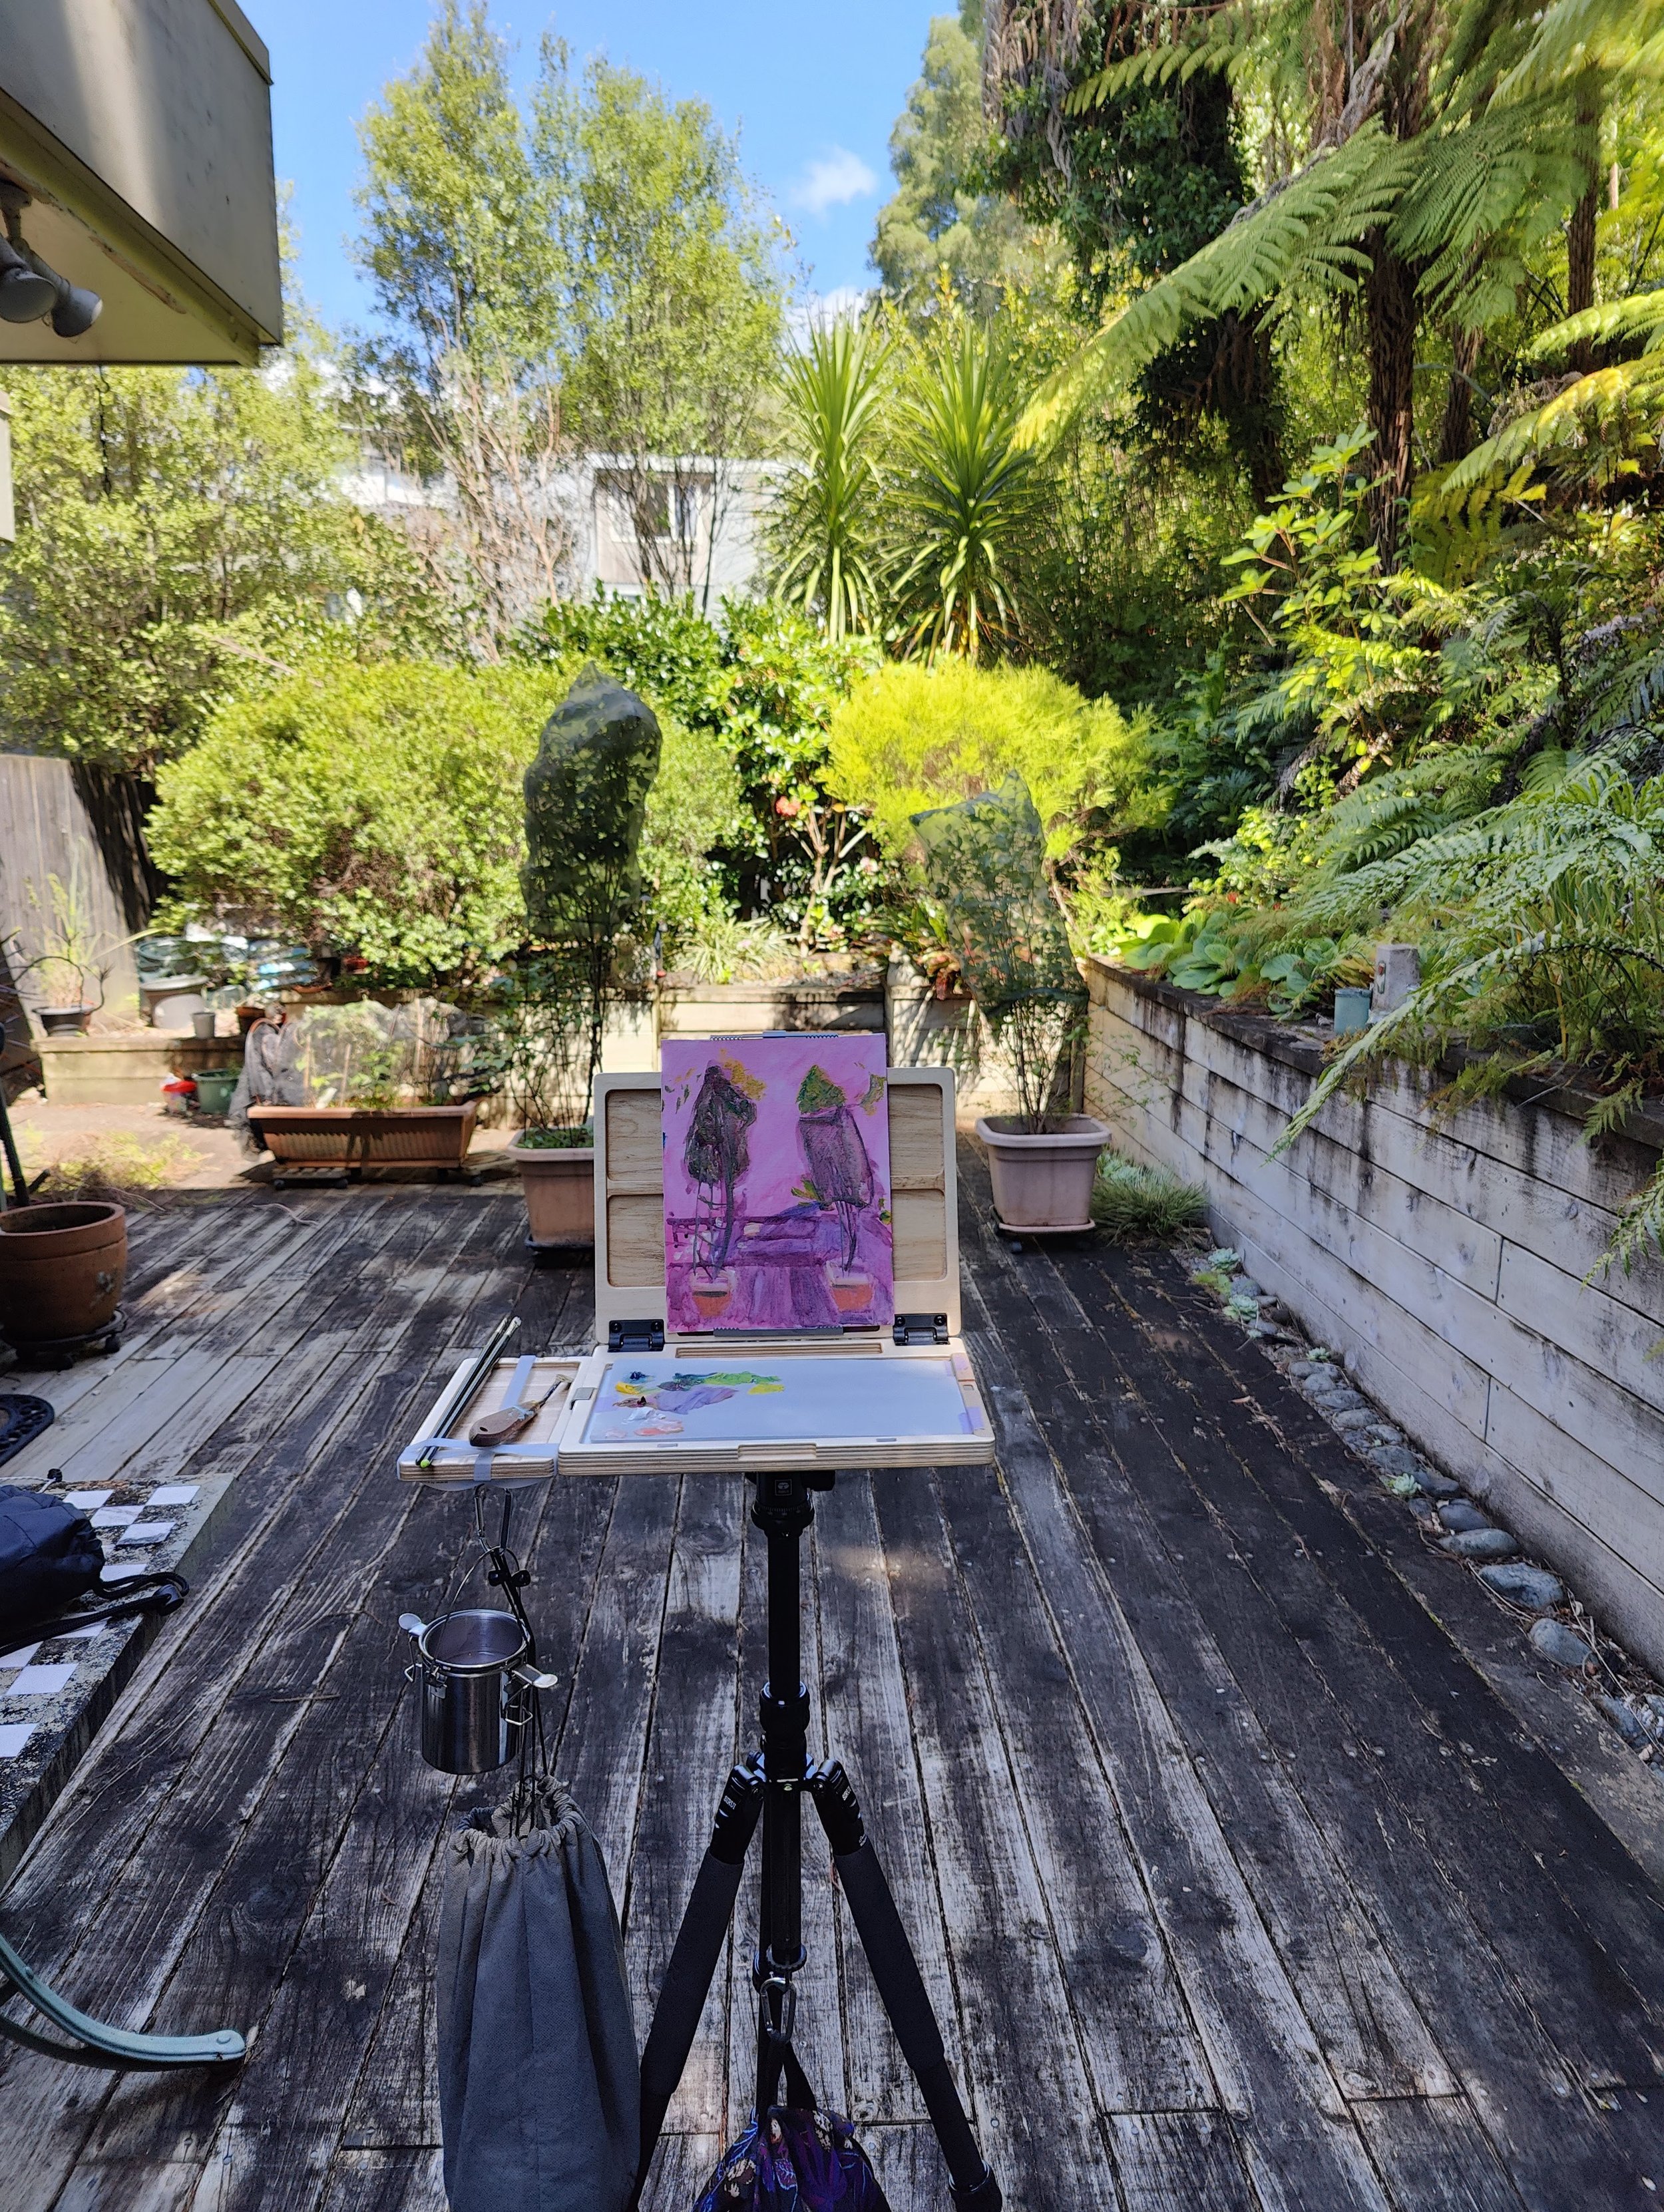
This was an eye-opening one - I thought I was painting quickly, but the light and shadows changed so quickly! I started around 11:30AM and at that time, the blueberry plants were entirely in shadow. At 12:08 the sun was hitting the tops of the bags over them, which is what my painting reflects. By 12:40 almost the entire deck was in the sun!
I’m still not sure how I’m going to deal with that! I suppose it’ll just take experience to get used to it. It’s a big change from painting off a photo, or even off a still life reference with indoors lighting.
Overall, I’m happy with the kit and keen to try it out again soon, maybe at the beach reserve near my house!
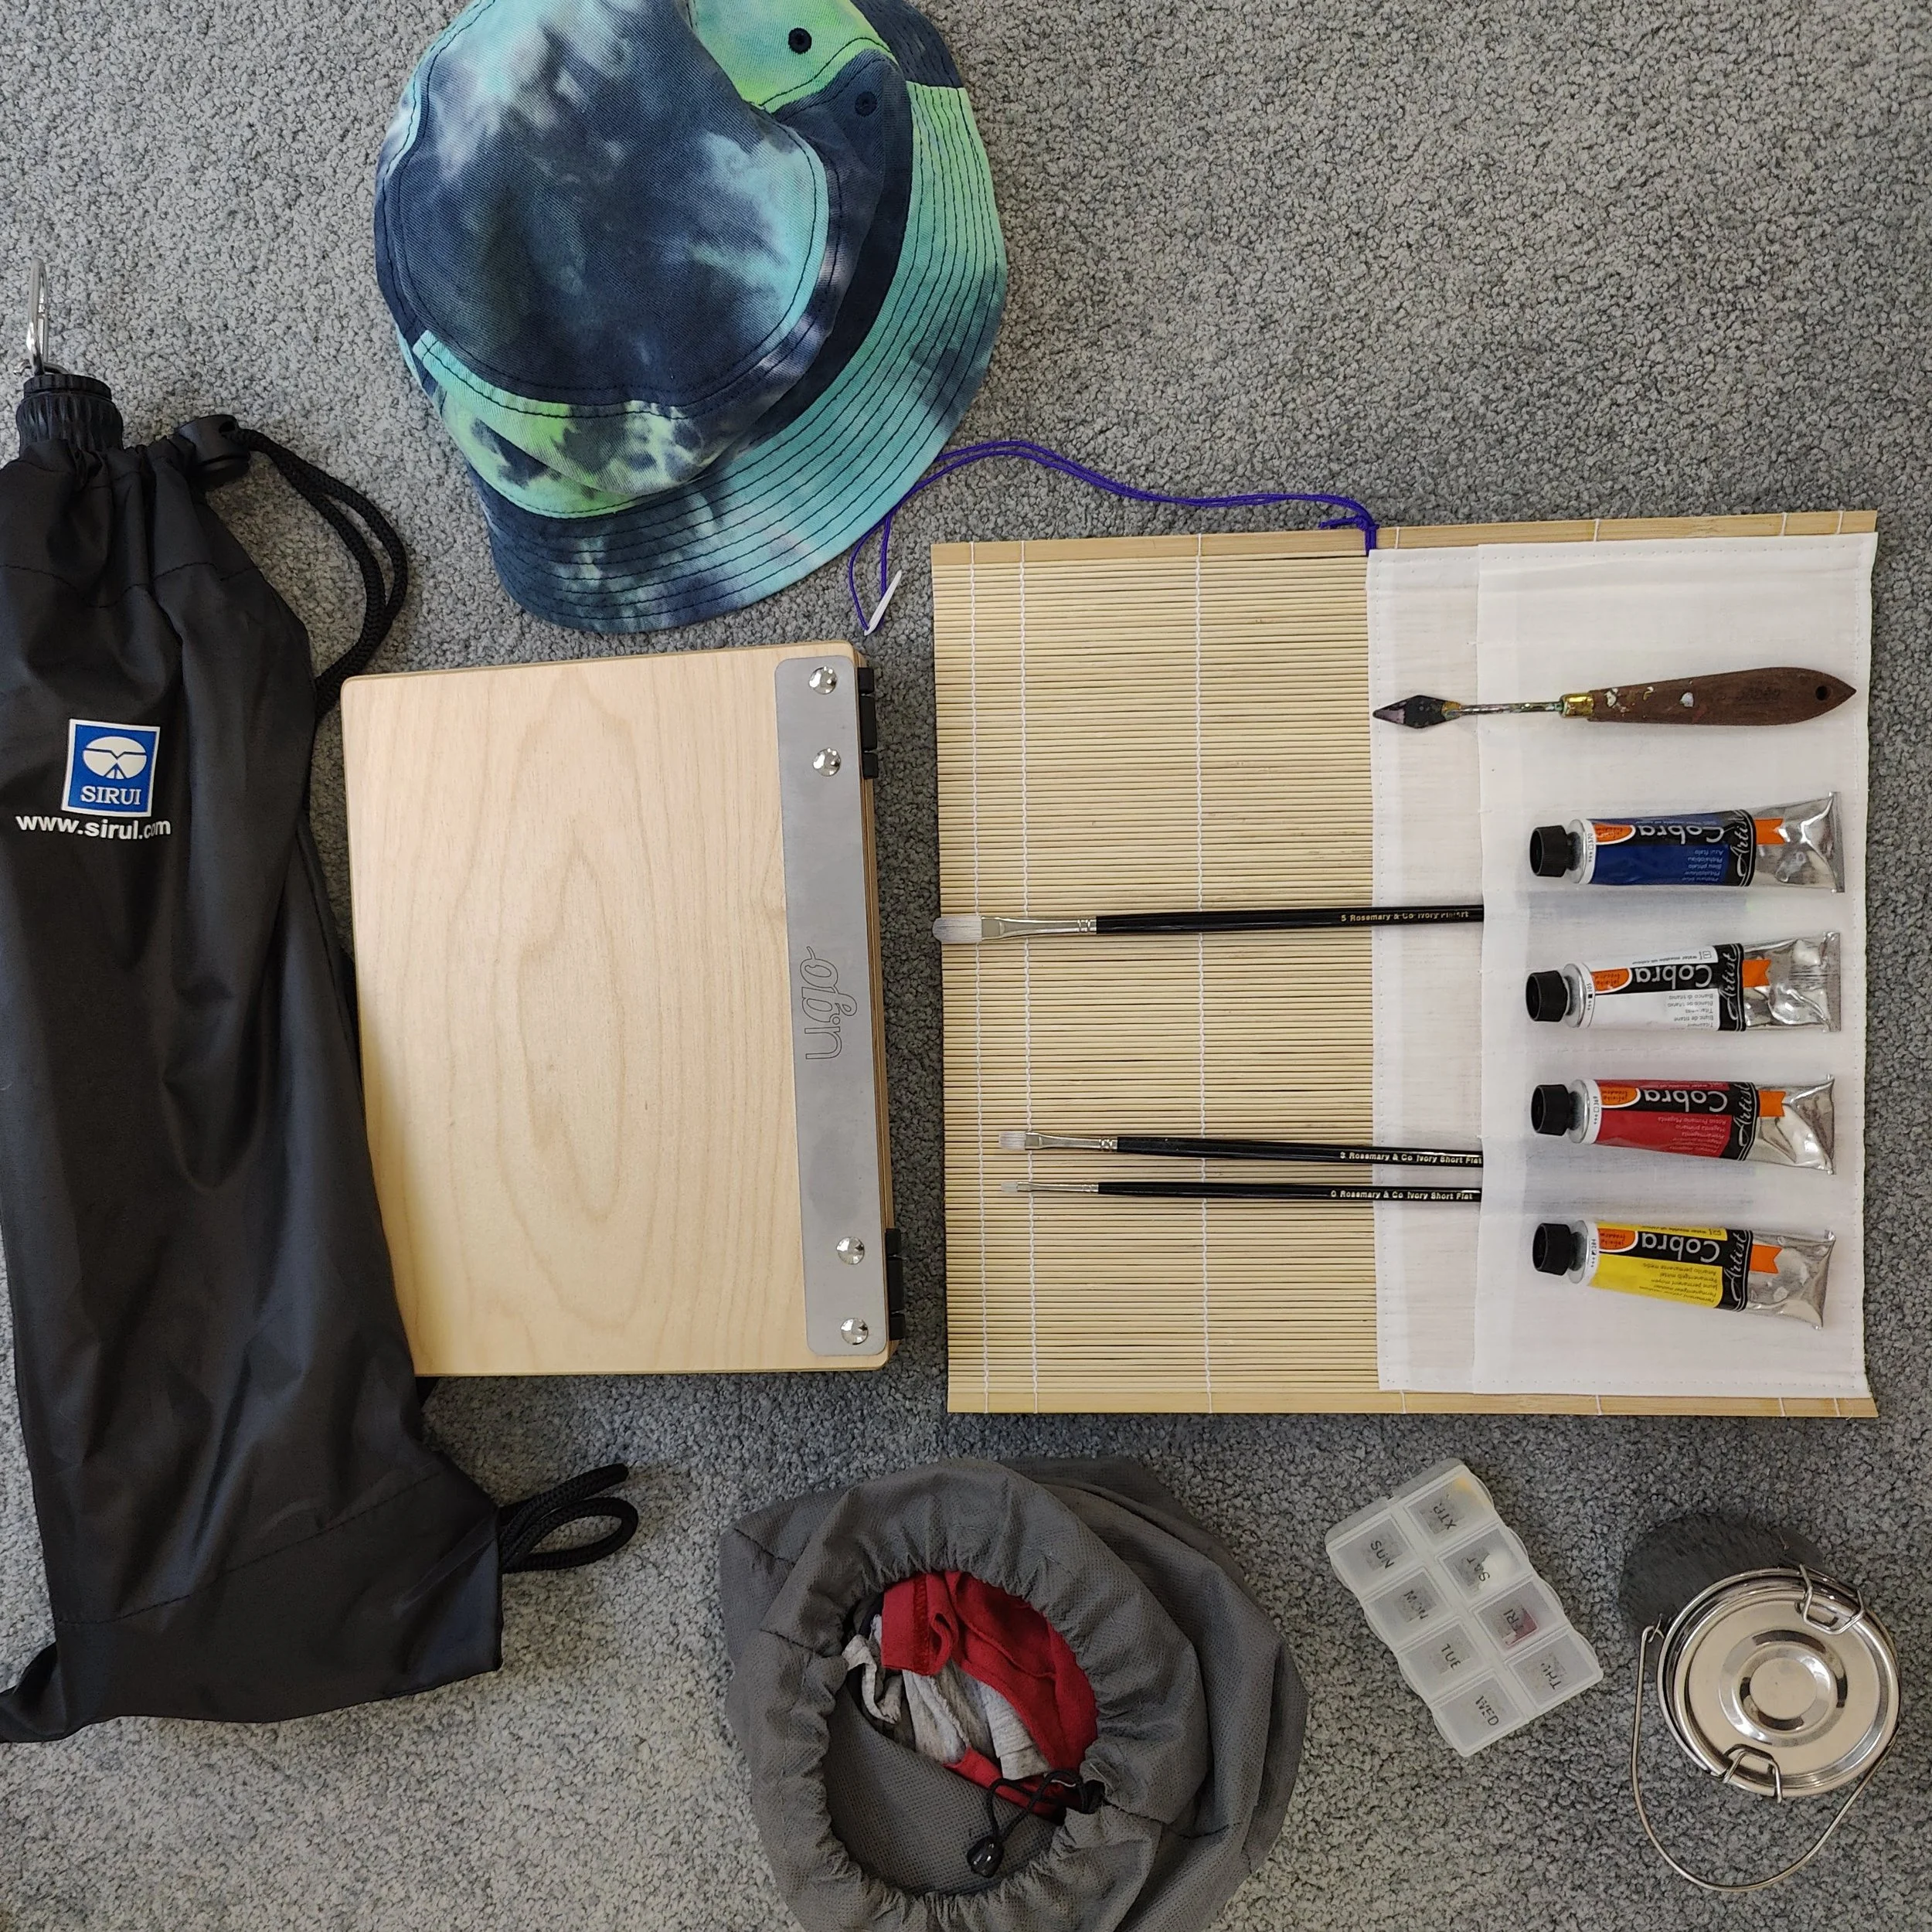
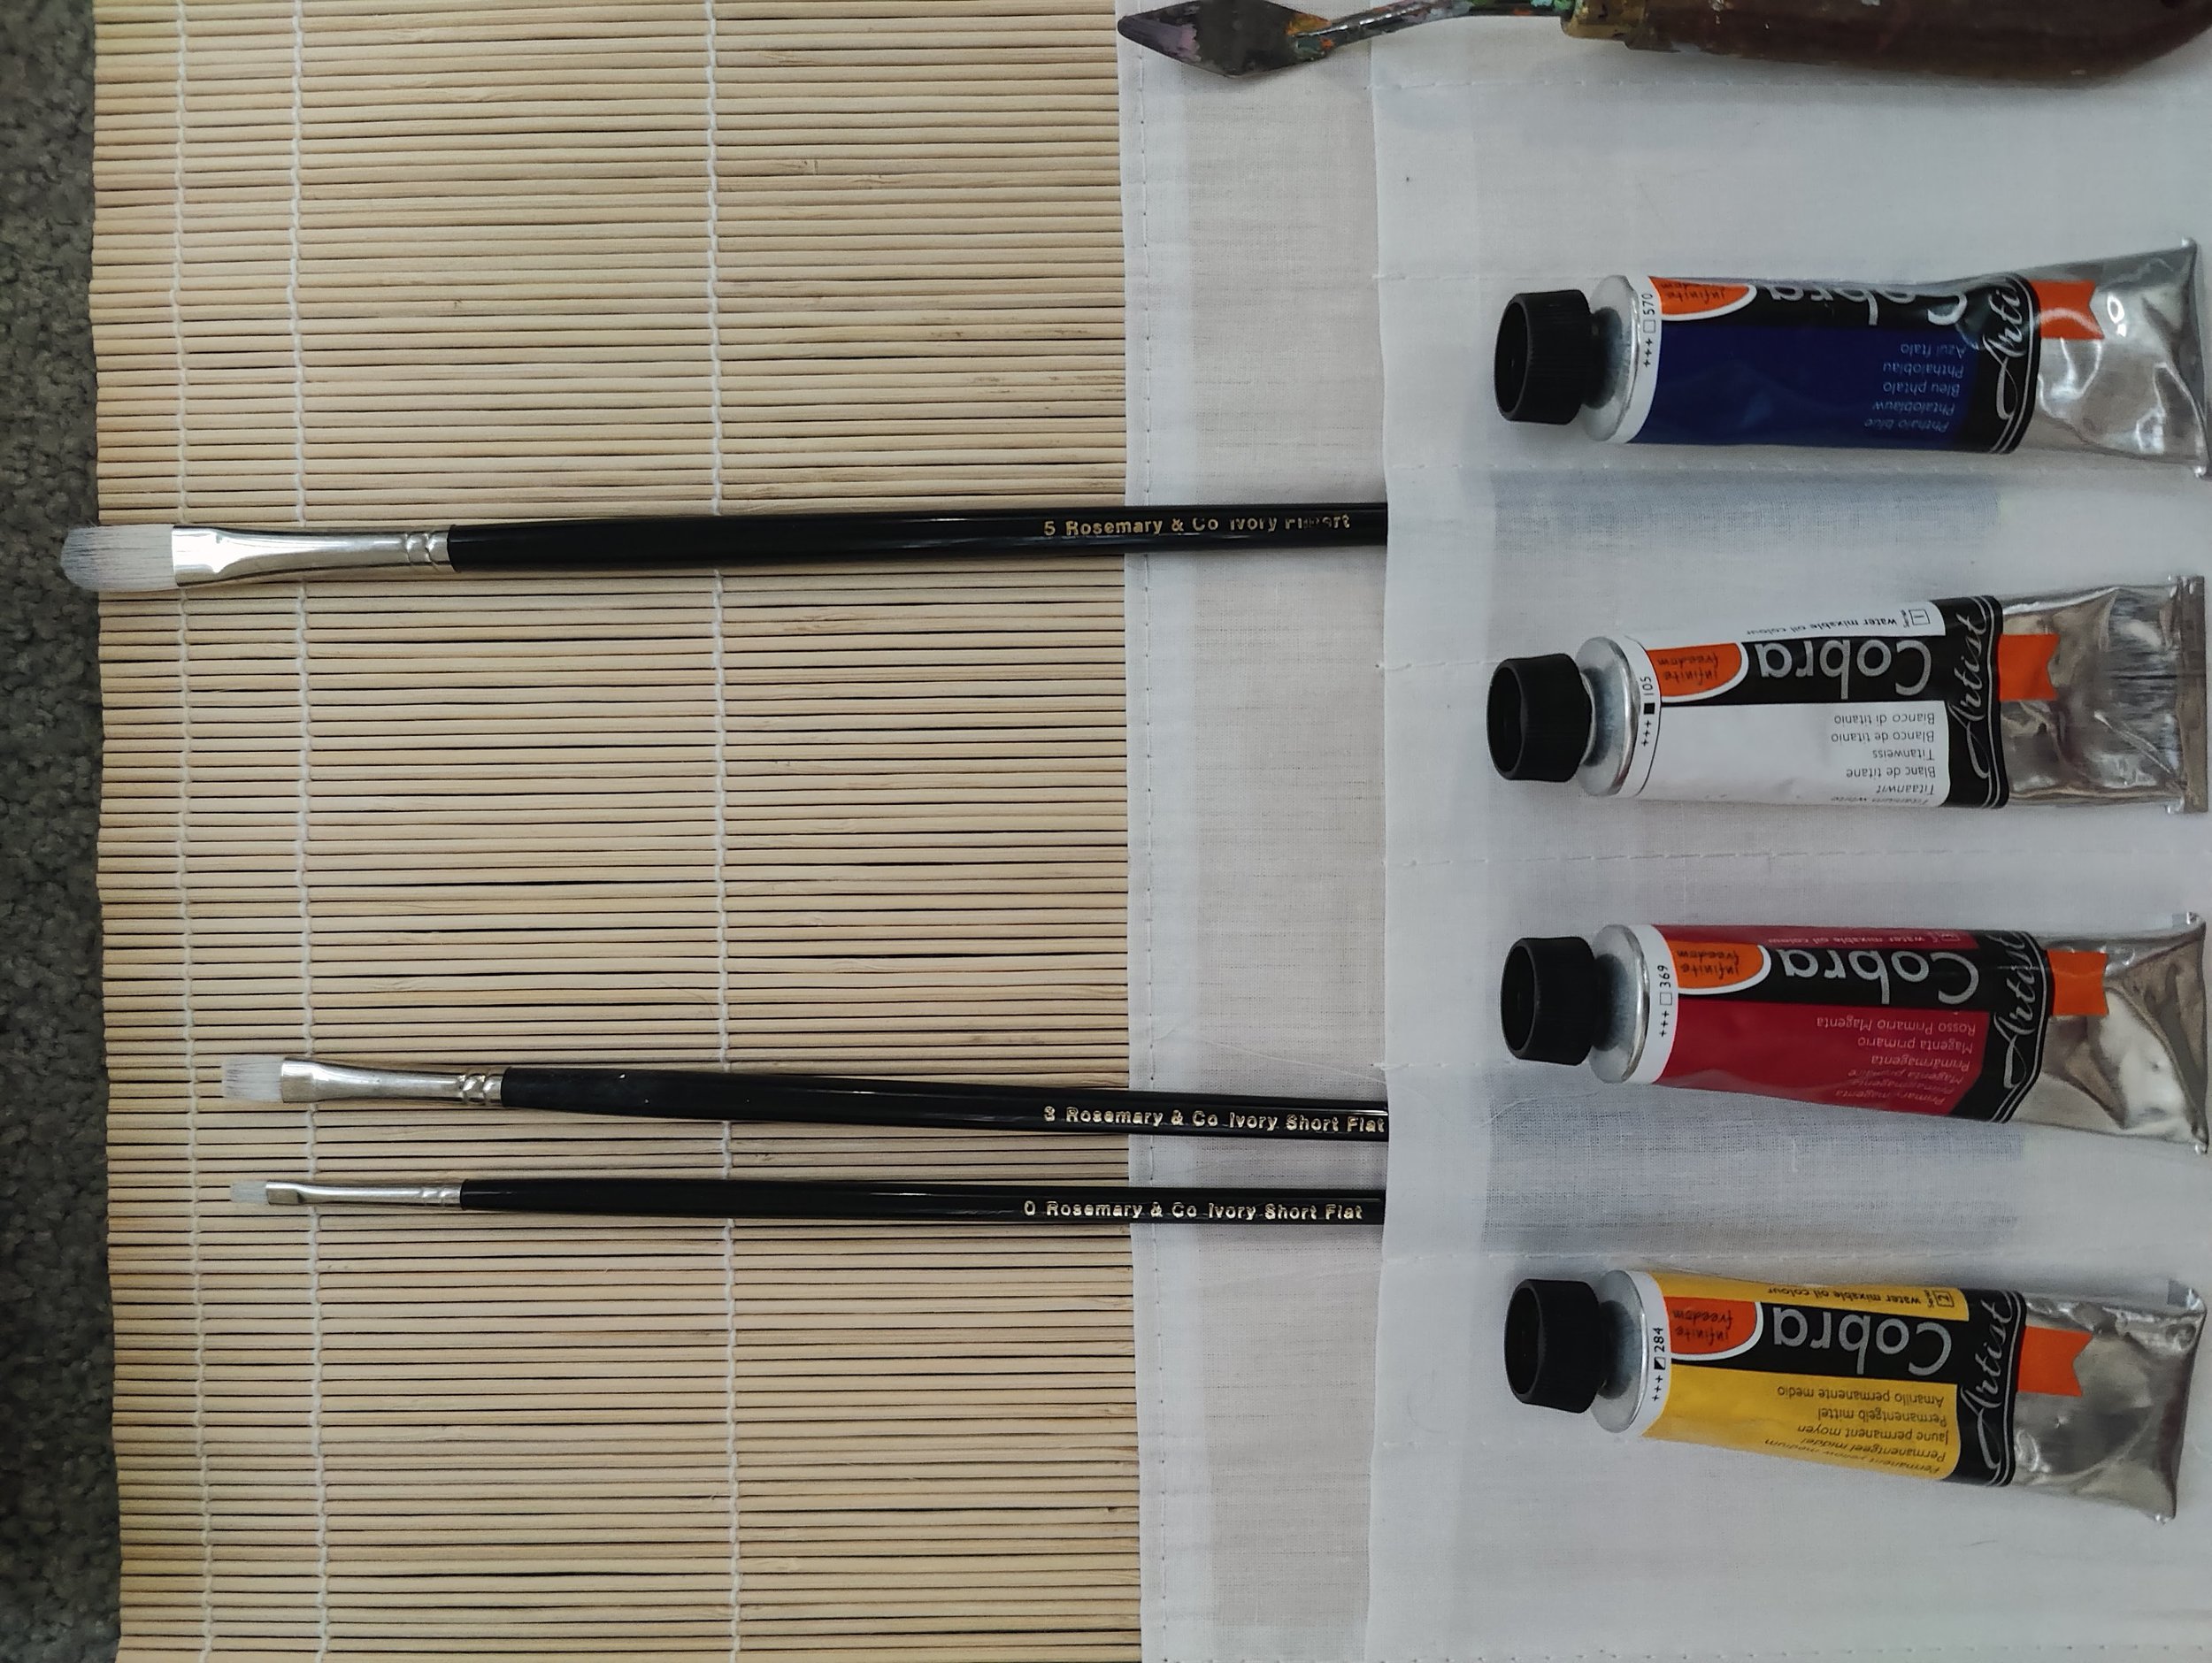
Bamboo brush wrap (basically a sushi roller with some cloth to hold brushes!)
Rosemary & Co brushes
Ivory range brushes with long handles.
Filbert size 5, Short Flat sizes 0 and 3.
I would have liked a larger brush, although that was mainly missed while toning the canvas
Cobra water mixable oil paints
Yellow Medium, Primary Magenta, Phthalo Blue and Titanium White.
I didn’t use any mediums other than plain water.
Next time I’ll also bring a brown (burnt umber or transparent red oxide?), and a darker yellow (yellow ochre). Maybe an orange or primary red. Possibly Ultramarine Blue as an alternative to the overpowering Phthalo Blue.
I wanted to avoid bringing toxic pigments and chemicals where possible, which is why I’ve settled on water mixable oil paints. The Cobra ones are really quite good. Also I don’t have to worry about spilling solvent in my backpack so it’s a win-win solution!
My worst/best cheap Pebeo palette knife that I’ve accidentally bent, but it’s still my go-to.
U-Go Pochade Box
The middle-sized 8.4x11.25" one
Also one U-Go side-tray
I could probably have done with the size up, mostly due to the limited palette size, but it’s nice how light and small it folds up and it feels very stable.
Sirui Traveler 7C Carbon-fiber Tripod
I got this one because it seemed well-made and light enough, but could also handle a heavier load in case I ever got a heavier pochade box or something. I also hang my bag off it to weigh it down. The U-Go Pochade Box has a screw hole for attaching the tripod’s quick-release doohickey.
Pill weekly organiser box to hold leftover blobs of paint
I saw this and it seemed like a great idea, but I’m not sure if I’m painting regularly enough to get to use it before it just dries up anyway!
Metal jug for brush-washing water
This hangs from a carabiner around one of the rubber bands that the pochade box came with. It has a little grate mid-way into the jug to agitate the brushes. It’s quite small.
It’s pretty small. I might do with either a larger one, or a second one for cleaner water.
A bag of rags (old cut-up t-shirts) for wiping brushes
A bucket hat
A water bottle for drinking water
Sunblock
A foldable stool
I didn’t actually use this. But maybe if I was painting for hours, it might be nice to sit and have a break.
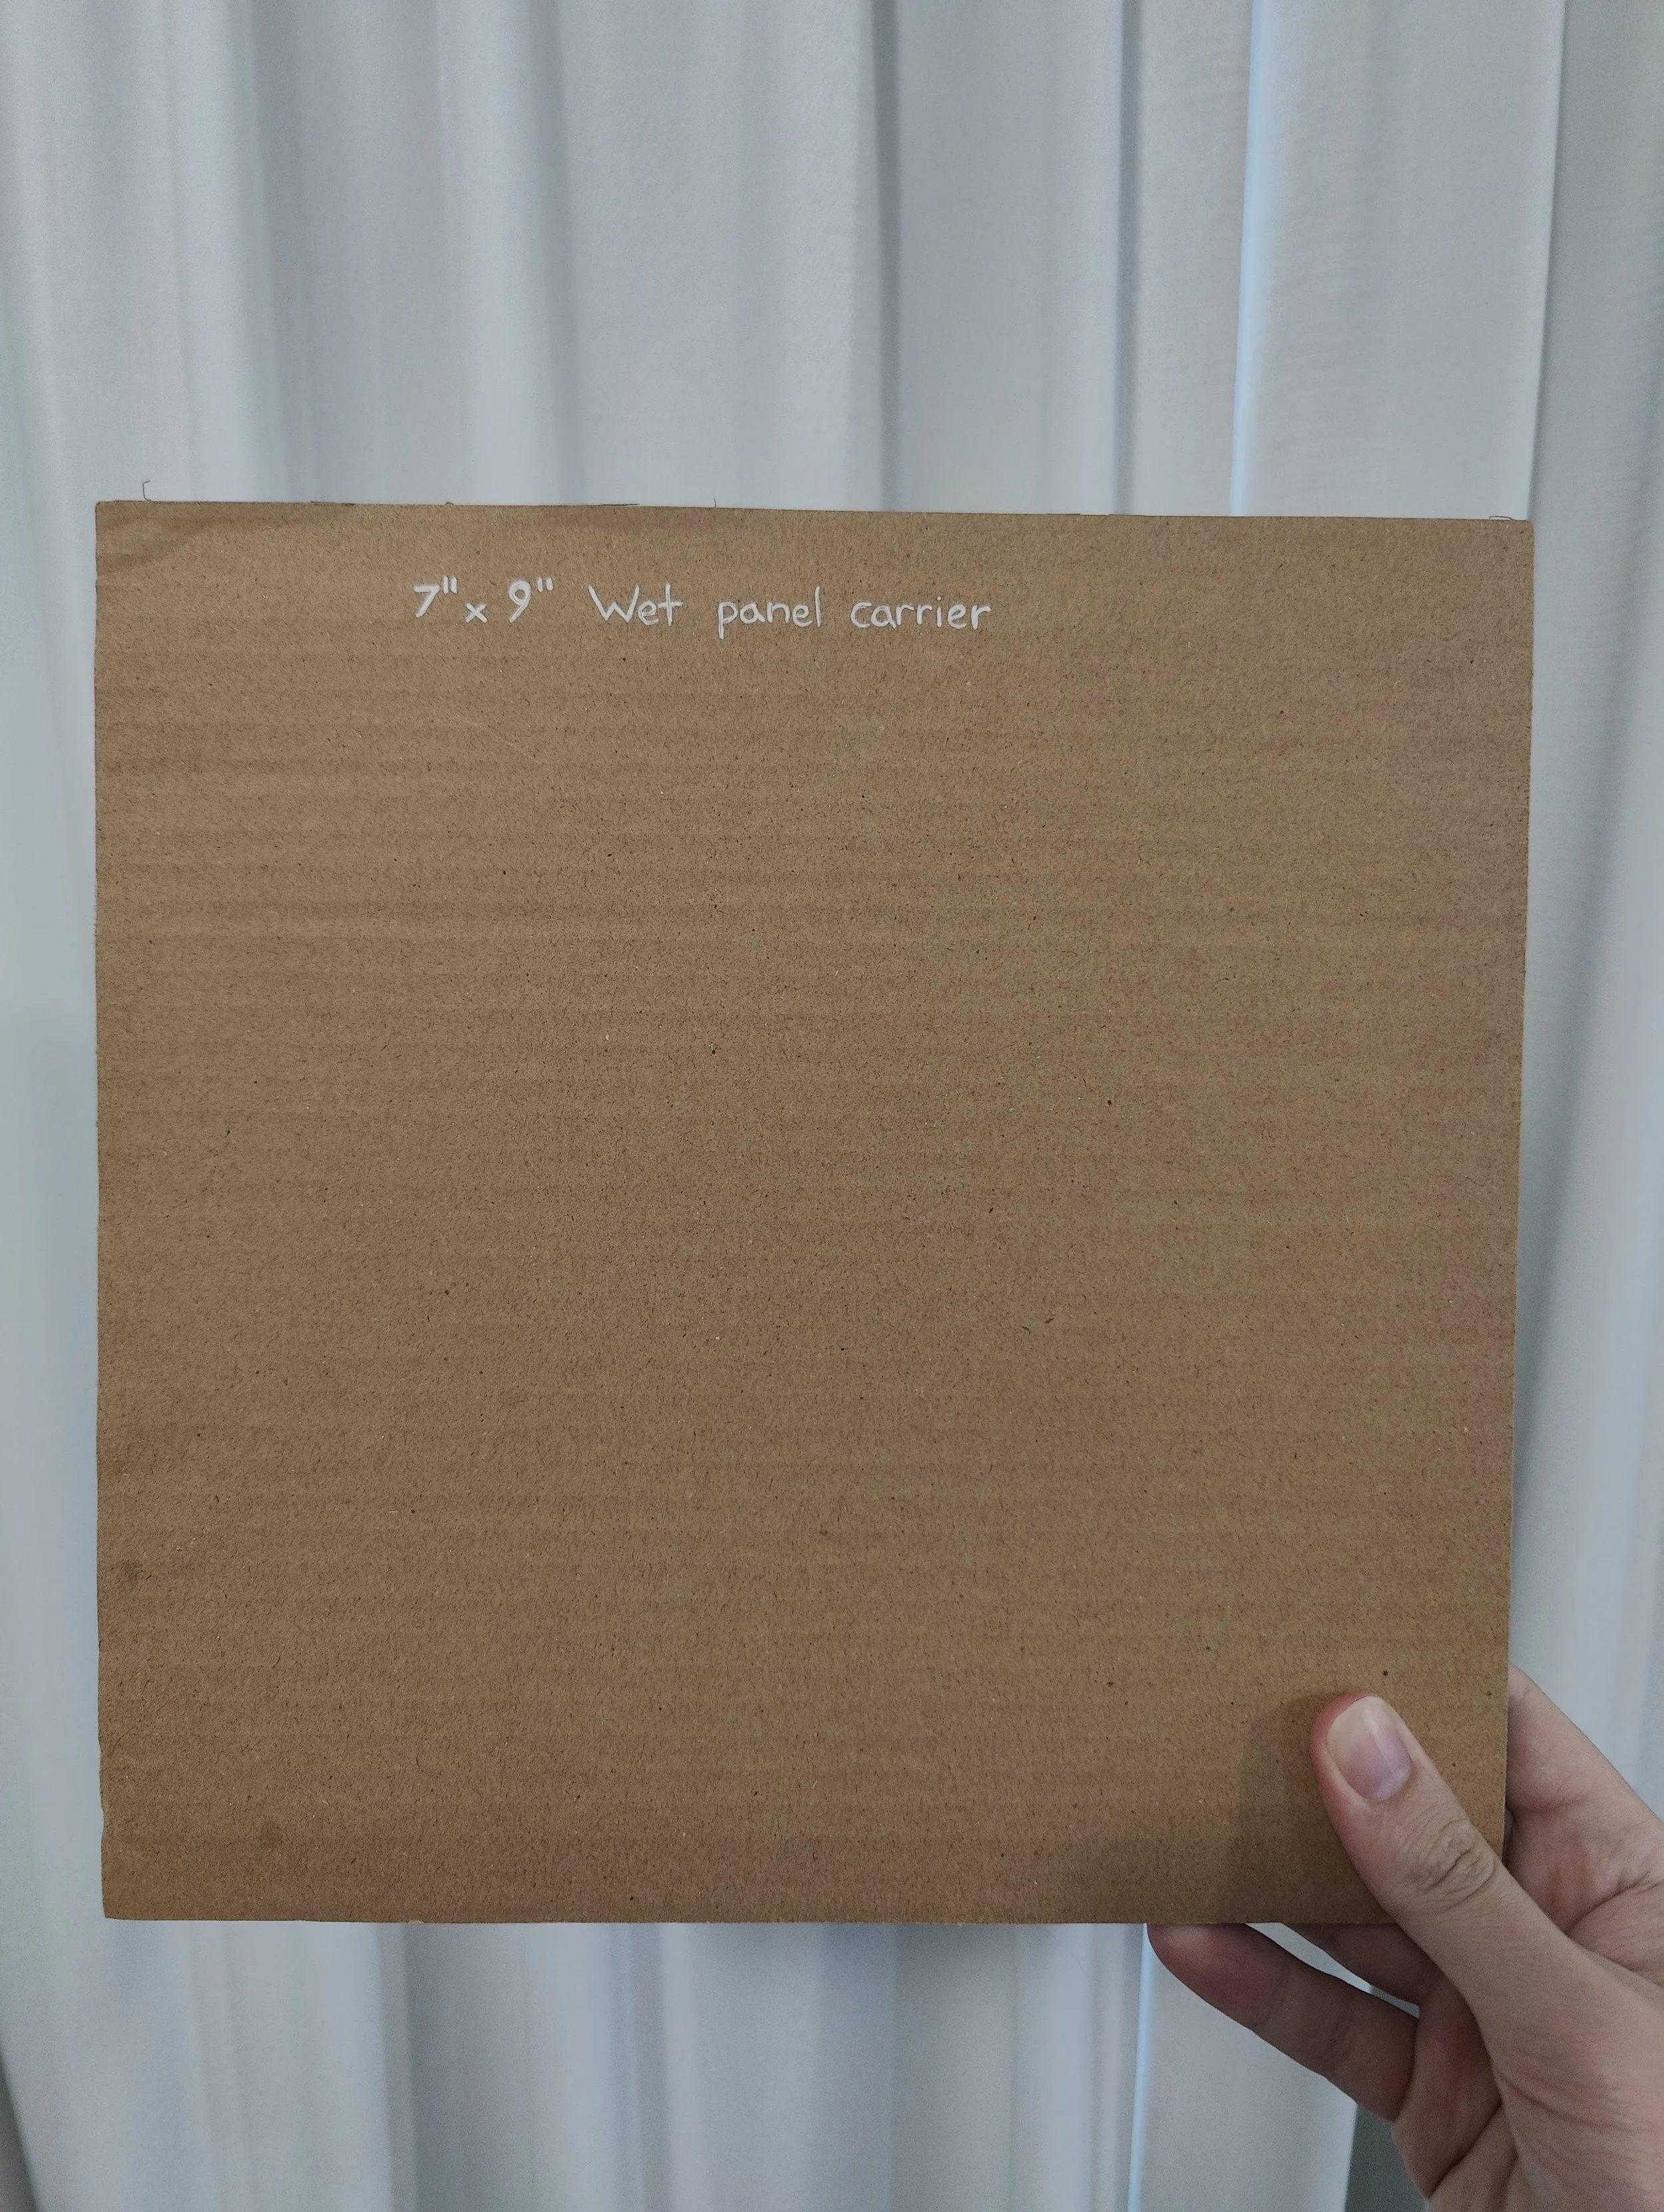
A canvas panel
This one was a pre-gessoed 7” x 9” canvas on cardboard.
I wish I’d toned it before bringing it.
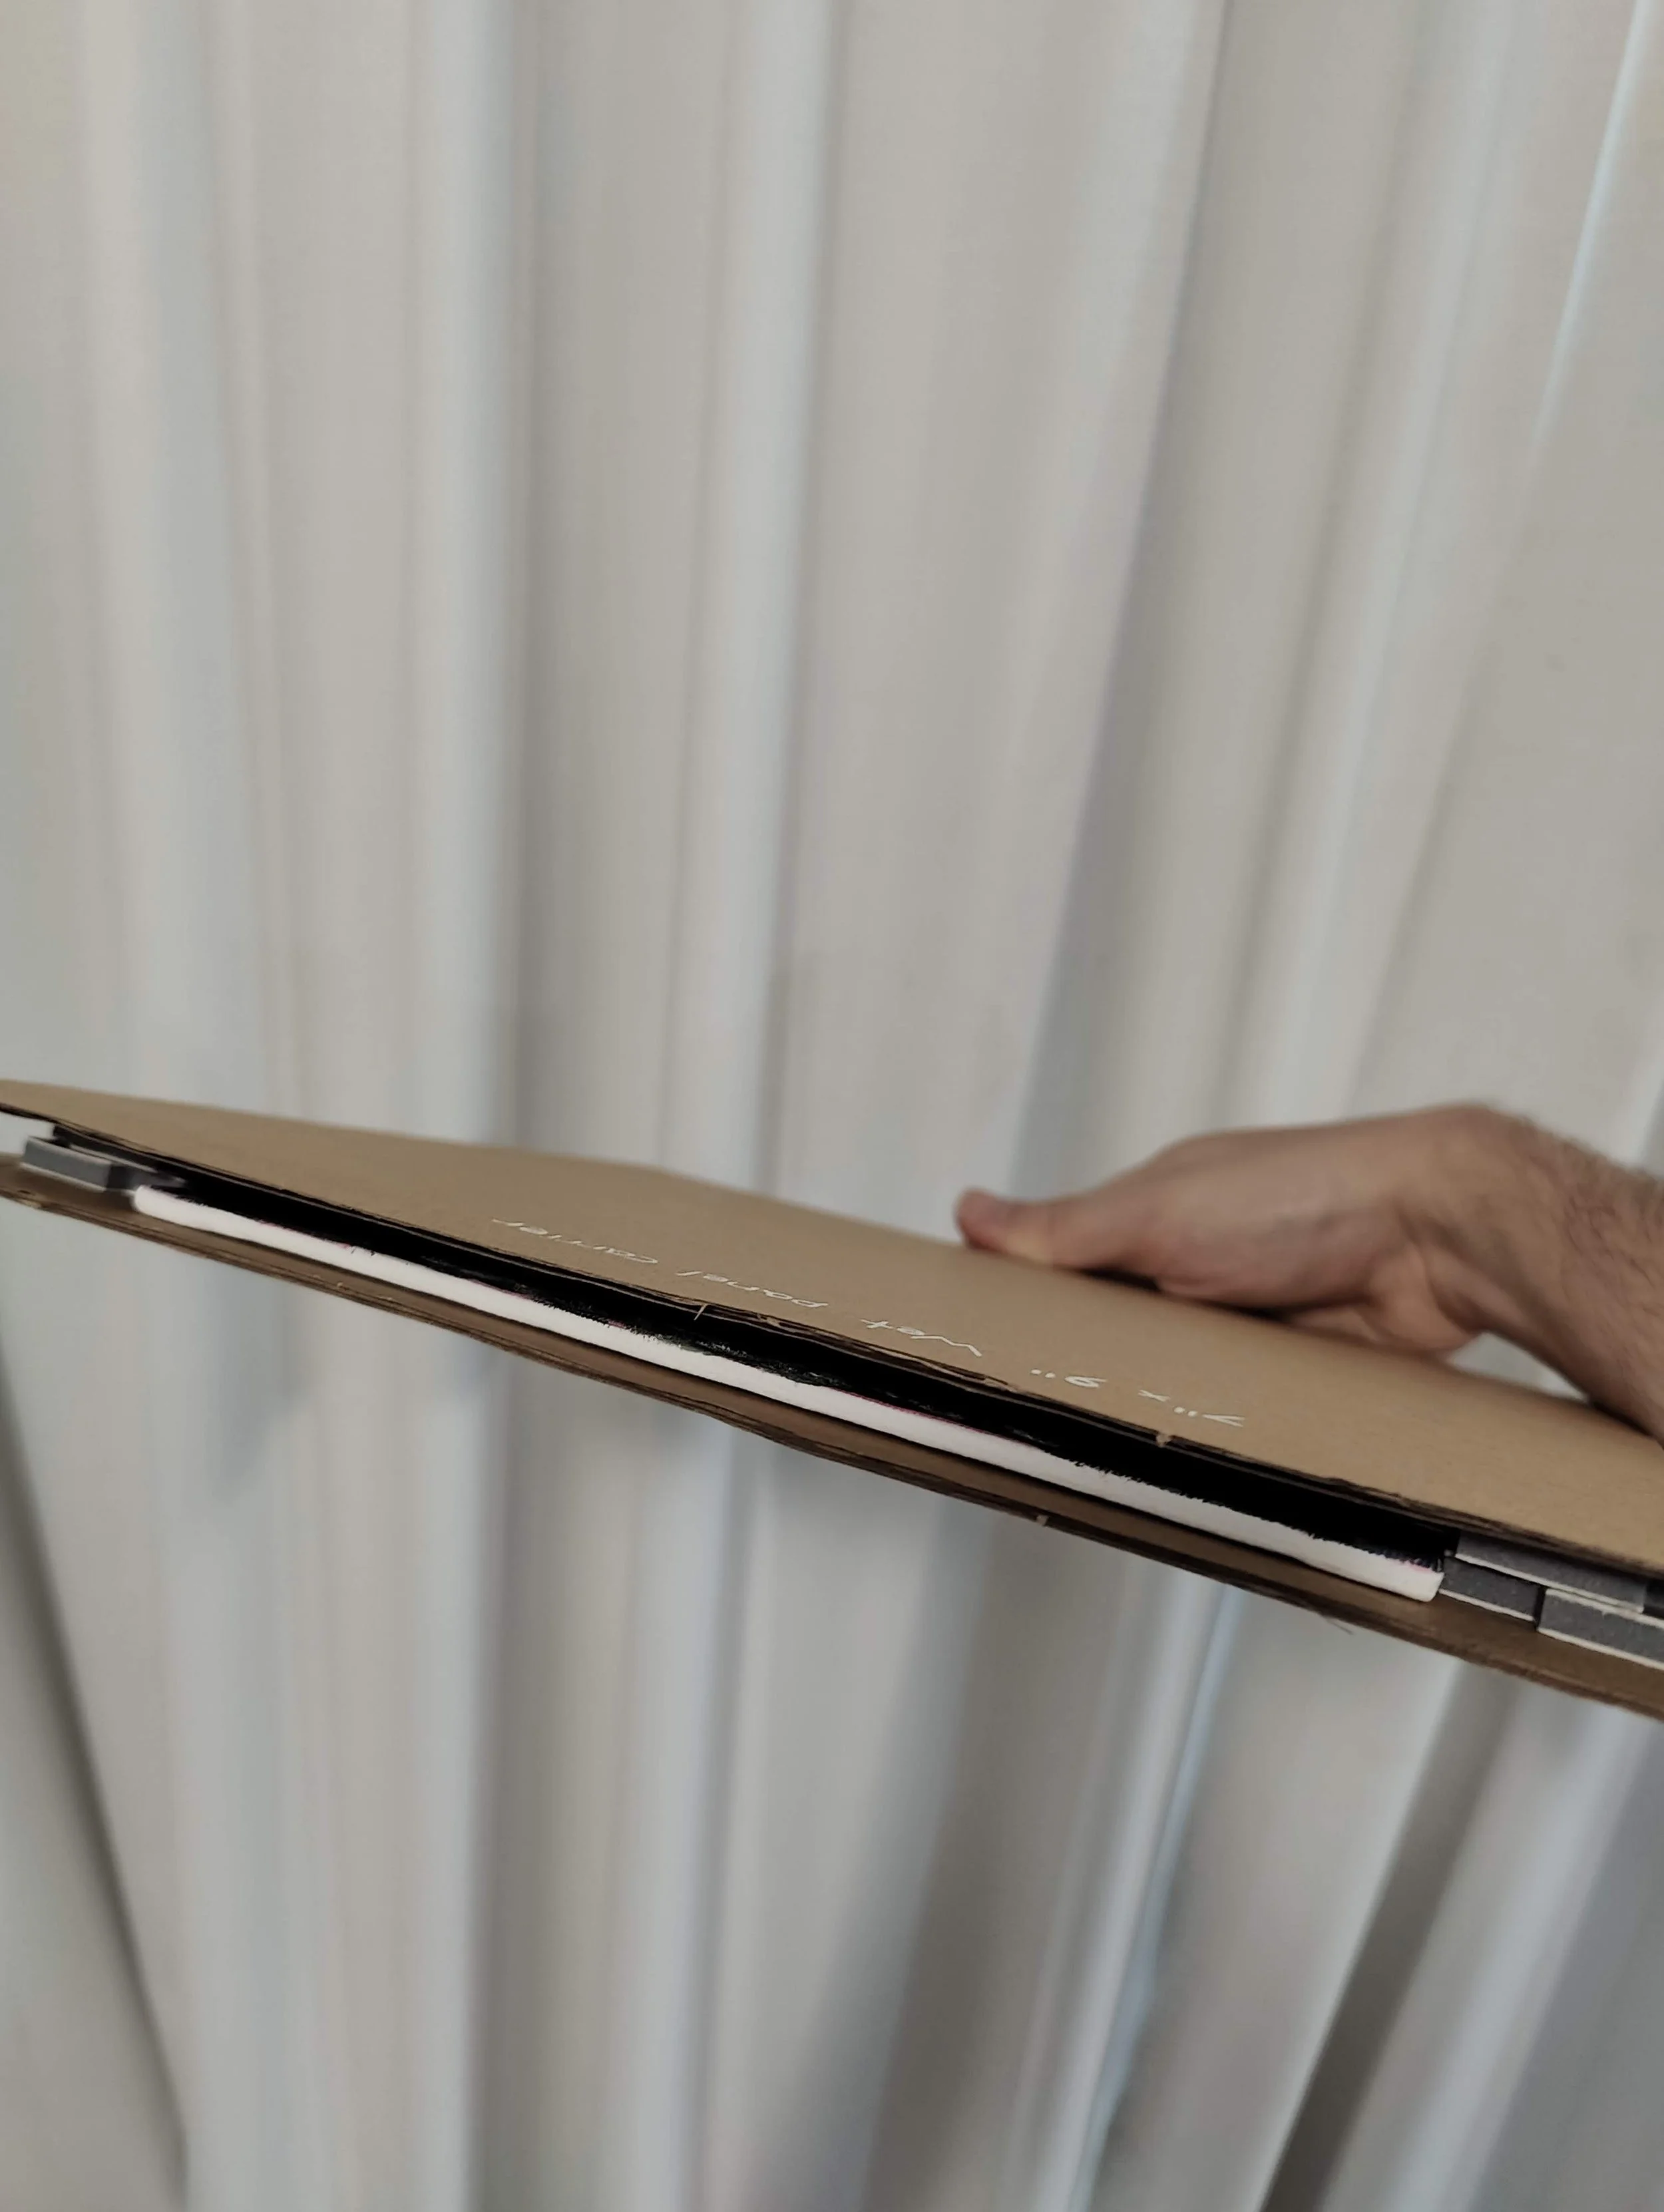
A wet panel carrier (handmade)
I wasn’t sure where to get a wet panel carrier that wasn’t absurdly expensive, so I made do with a home-made one. I glued some foam from some board game organisation inserts between some pieces of cardboard, and it sort of did the trick.
I’m not sure how well it’d hold up to a more rigorous journey, and it only holds one size of canvas, but I’ll do for now.
A backpack
I had a spare backpack, it’s quite small so I have to carry the tripod and foldable stool separately, but they have their own carry straps.
How I self-hosted my DRM-free comic ebooks that I collected from various digital bundles so that I could read them and keep track of my progress across the devices in my home
Read More